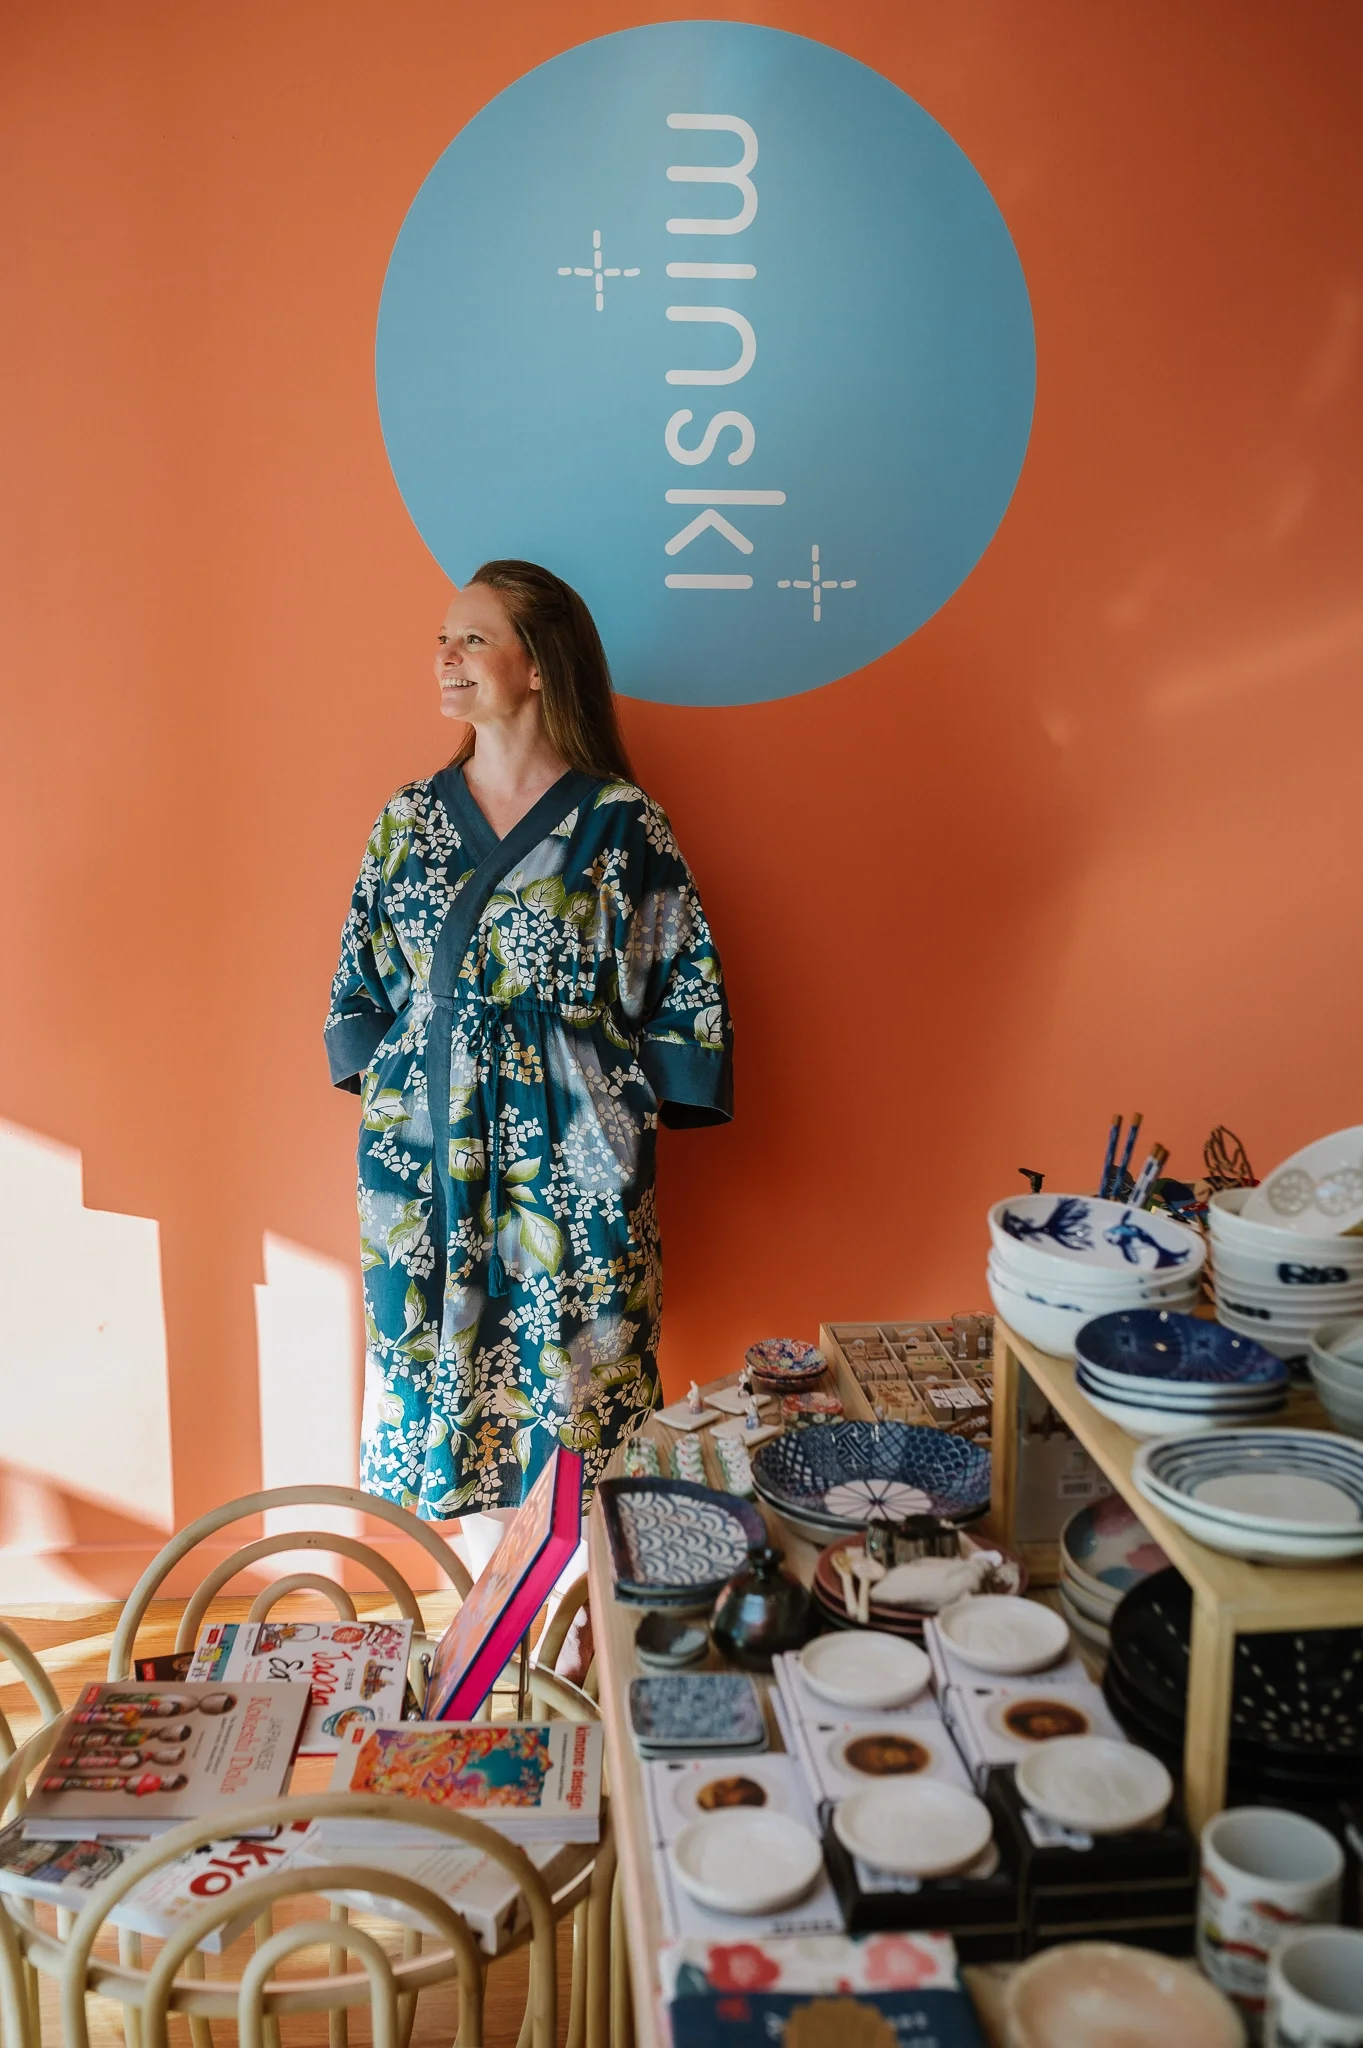
Launching a new website? Plan the photos you need
There is nothing more exciting than launching a new website!
A website is the perfect opportunity to clearly present your business, tell your story and bring your brand to life. Including professional photos throughout your site helps demonstrate that you are a genuine, skilled and trustworthy business. Great photos can instantly build confidence and help potential customers connect with what you do.
While every business is different, a little planning can help you get more from your photoshoot. Thinking about your website first can help you work out which images you need. This article provides an easy checklist of photos that work well across most business websites. You’ll also find a useful download to help you plan your shoot and create a flexible library of images.
Your website sitemap is the backbone of your photo list
Your sitemap lays the foundation for the photographs you need. I encourage clients to share their sitemap, website skeleton or existing website design if they are looking to refresh their current photography. This gives us a useful starting point. We can work through each section and brainstorm the kinds of photos that will be most useful. These resources are best used as a guide. Don’t let them restrict the photos you create!
Homepage and hero photographs
Think of your homepage as the front cover of a magazine. It needs to be a powerful magnet that grabs attention. Although, in reality, many of your users will come through other pages on your website, your homepage still needs to act as the perfect introduction and anchor point, guiding users through your site.
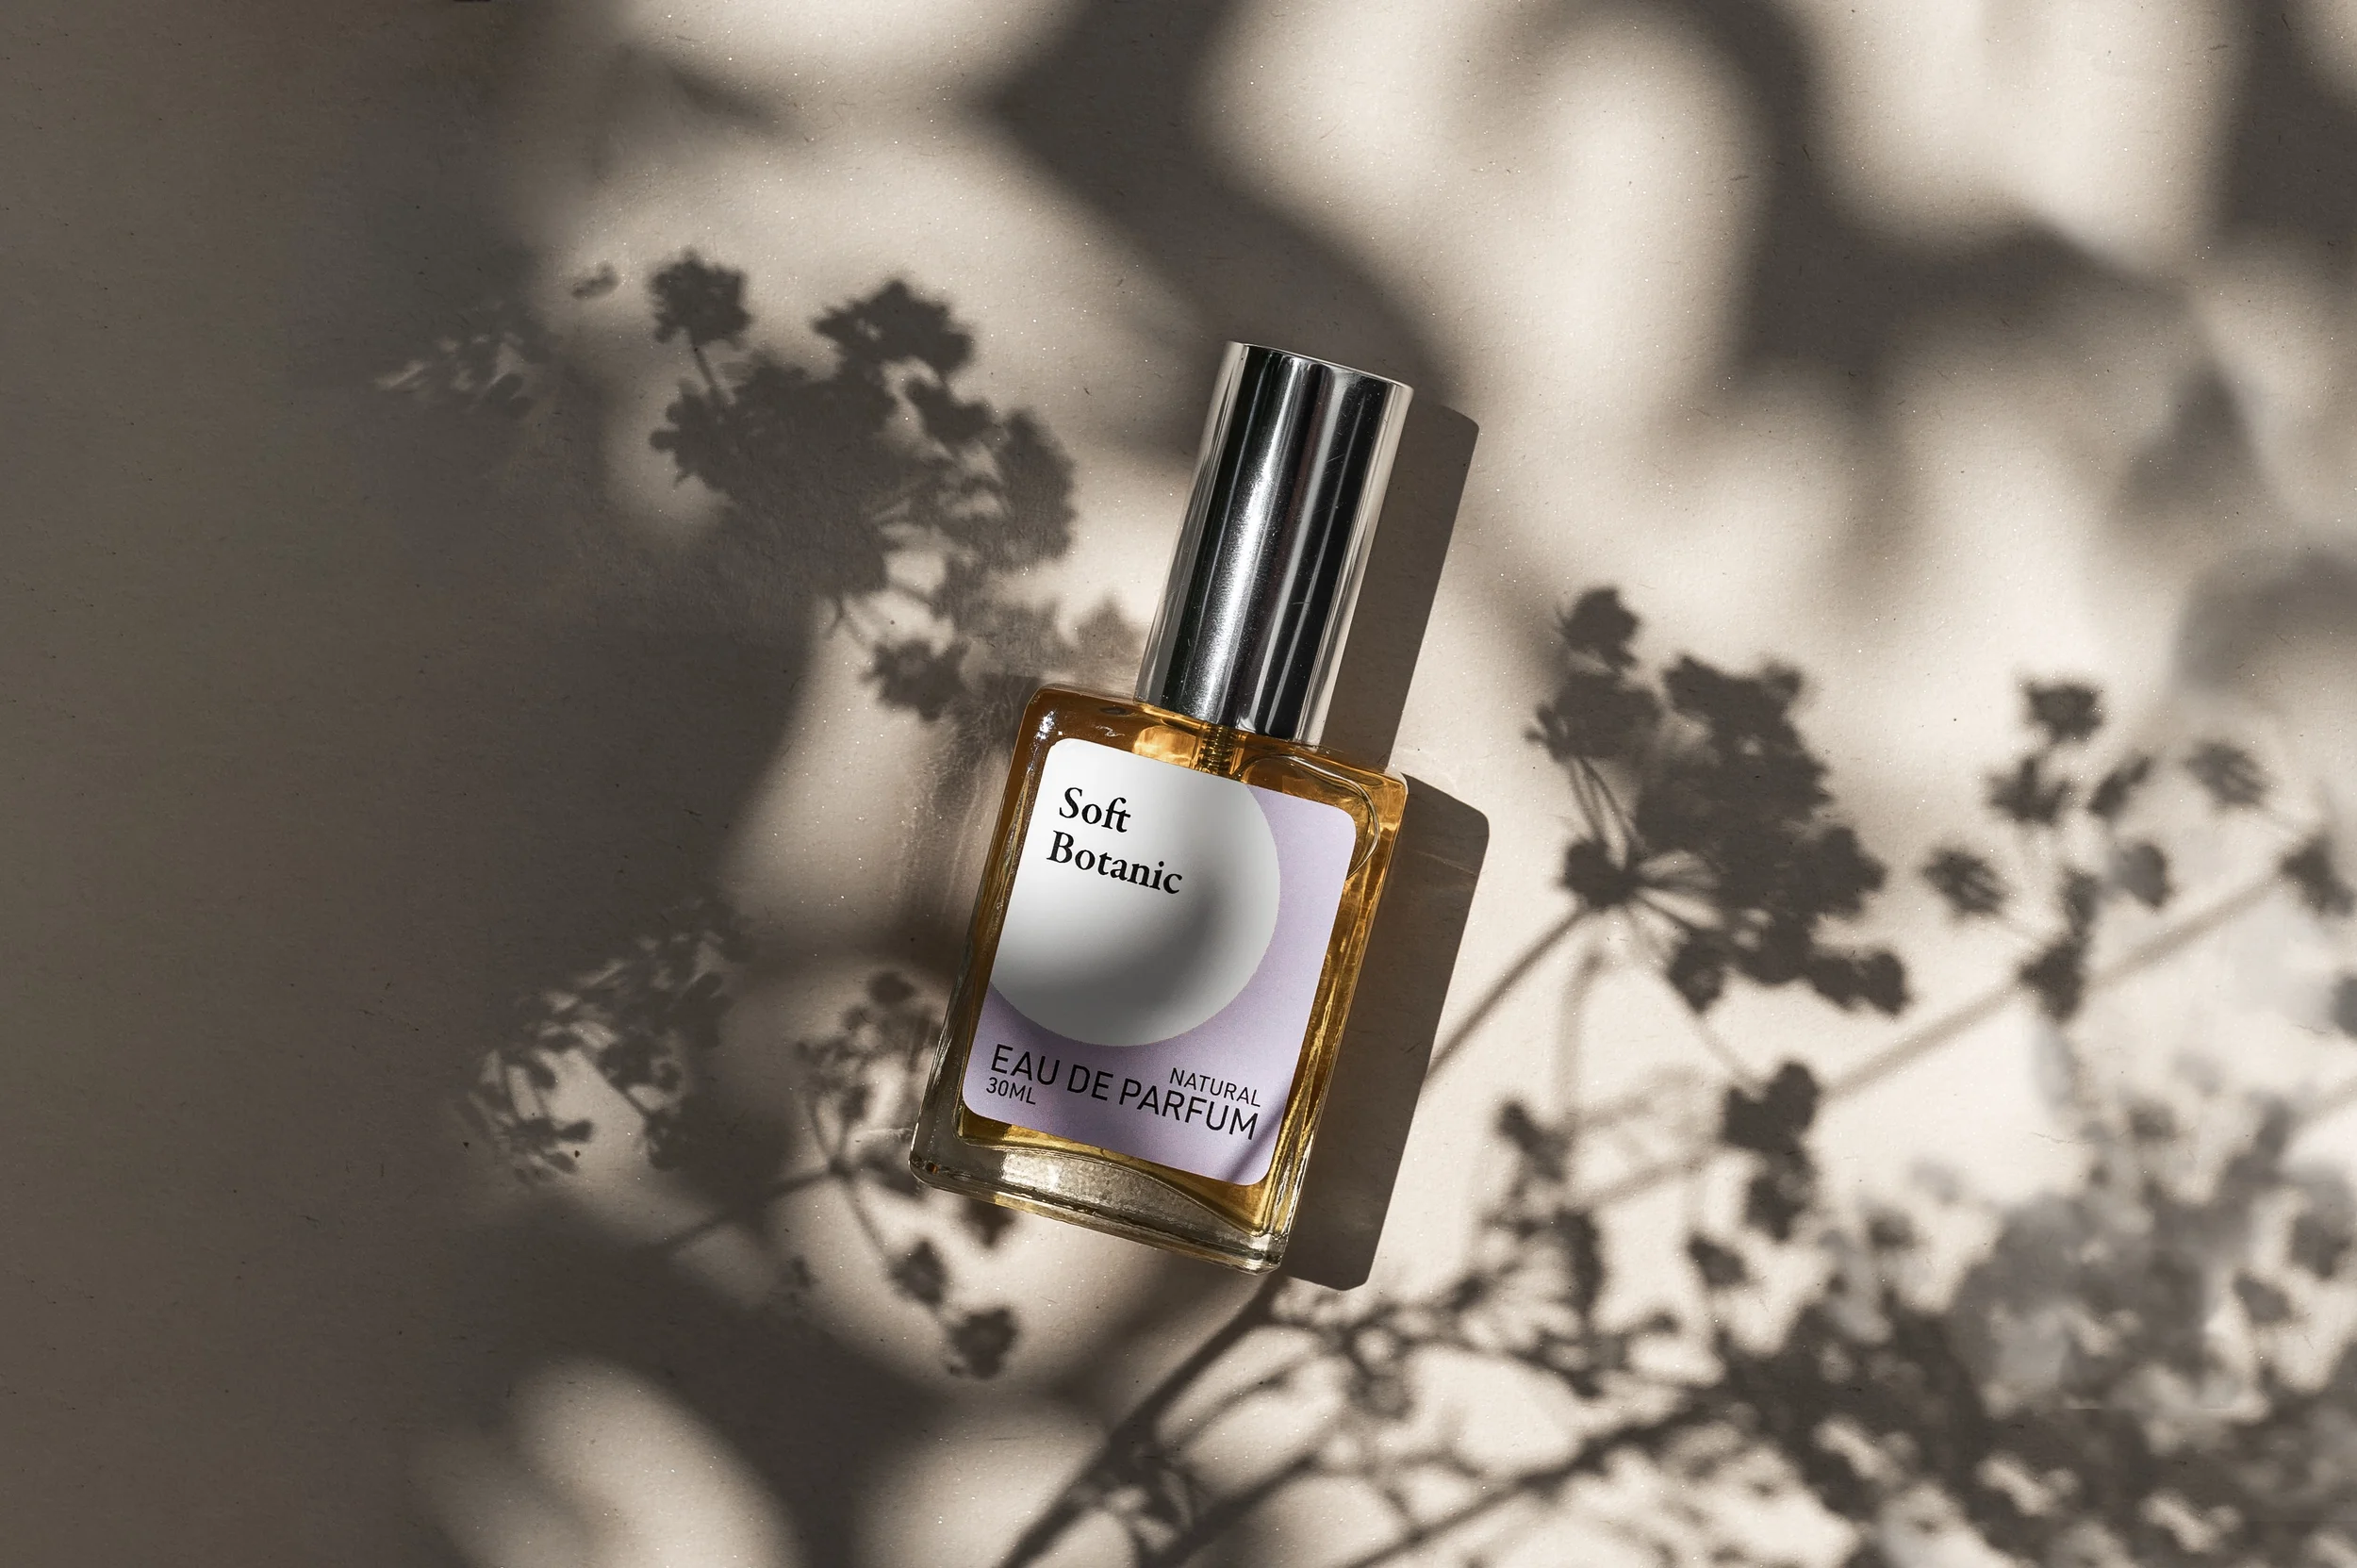
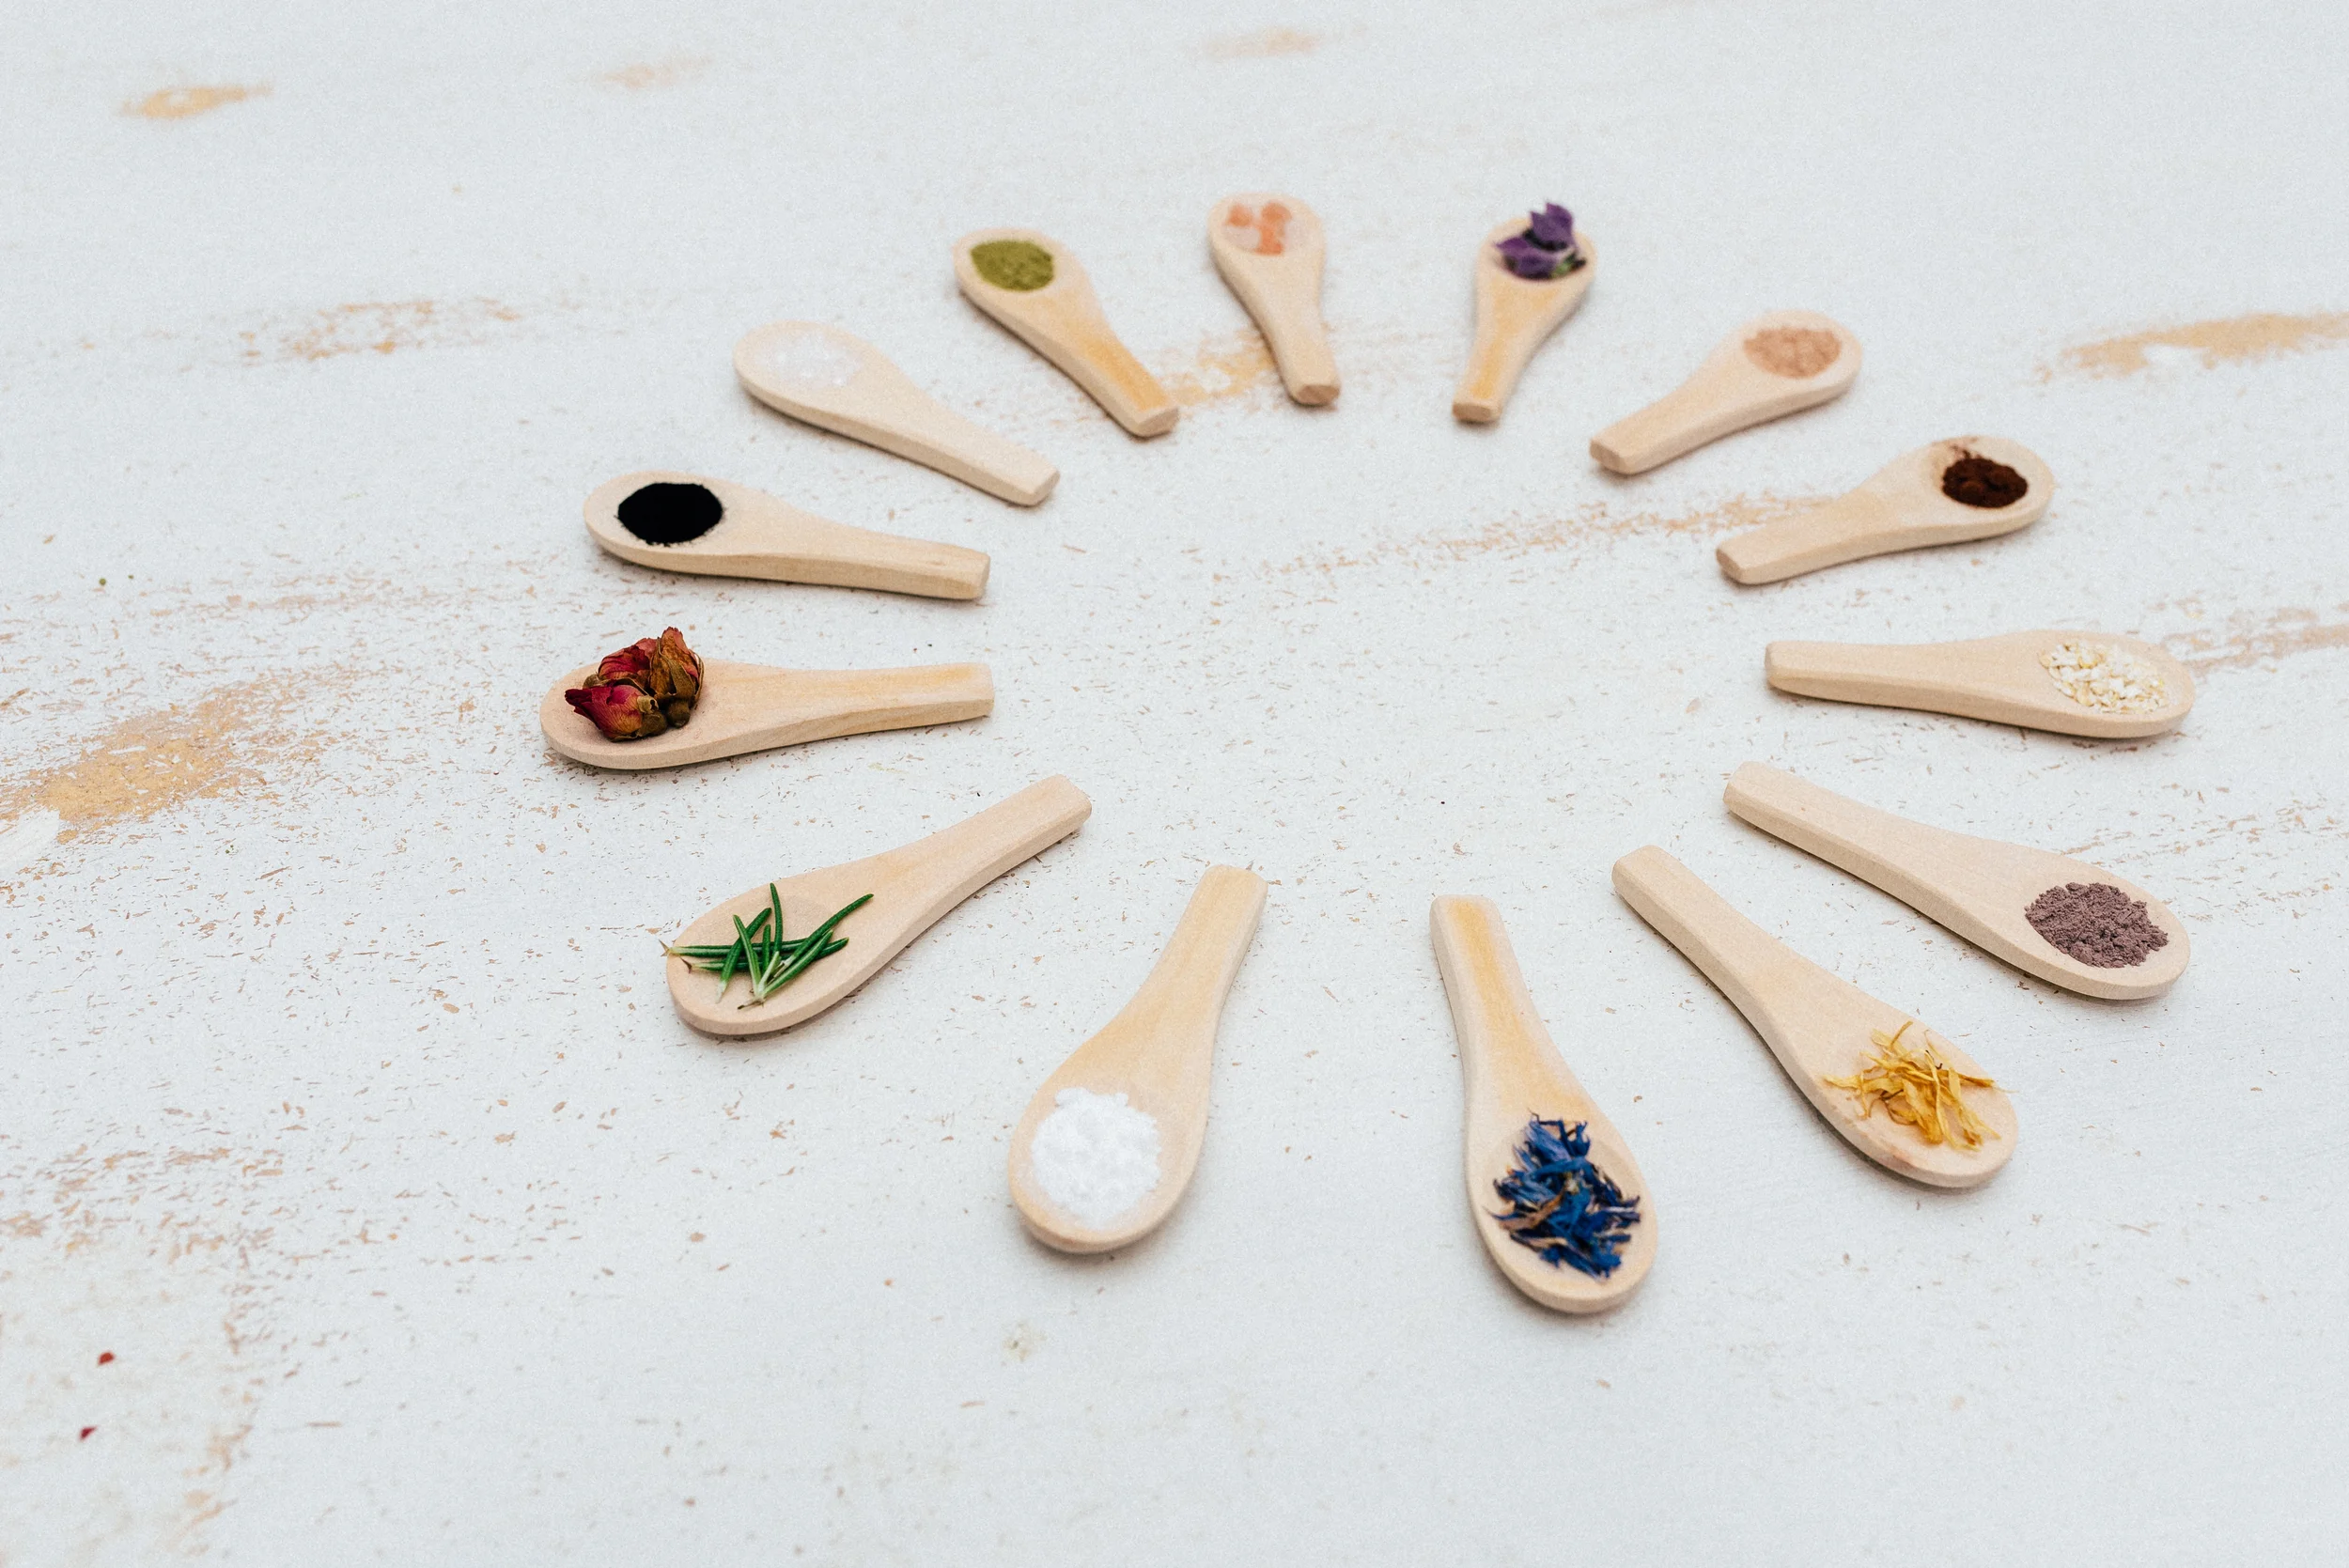
Hero photographs should be both descriptive and emotive. True brand photographs that instantly paint a picture of what you offer and shed light on how you do it. The adjacent example of a hero image is for a business that creates a range of natural products. It promotes the positive feeling of using the products and the healthy, natural, lifestyle that goes with it. The colour connection between the sky and the soap is eye catching and you can get an instant sense of the brand.
Hero images on your homepage might be part of a banner or slideshow or alongside other striking photographs dotted throughout the page. Choose memorable images that create a connection with your customers, showcase your product or service, and reinforce the result.
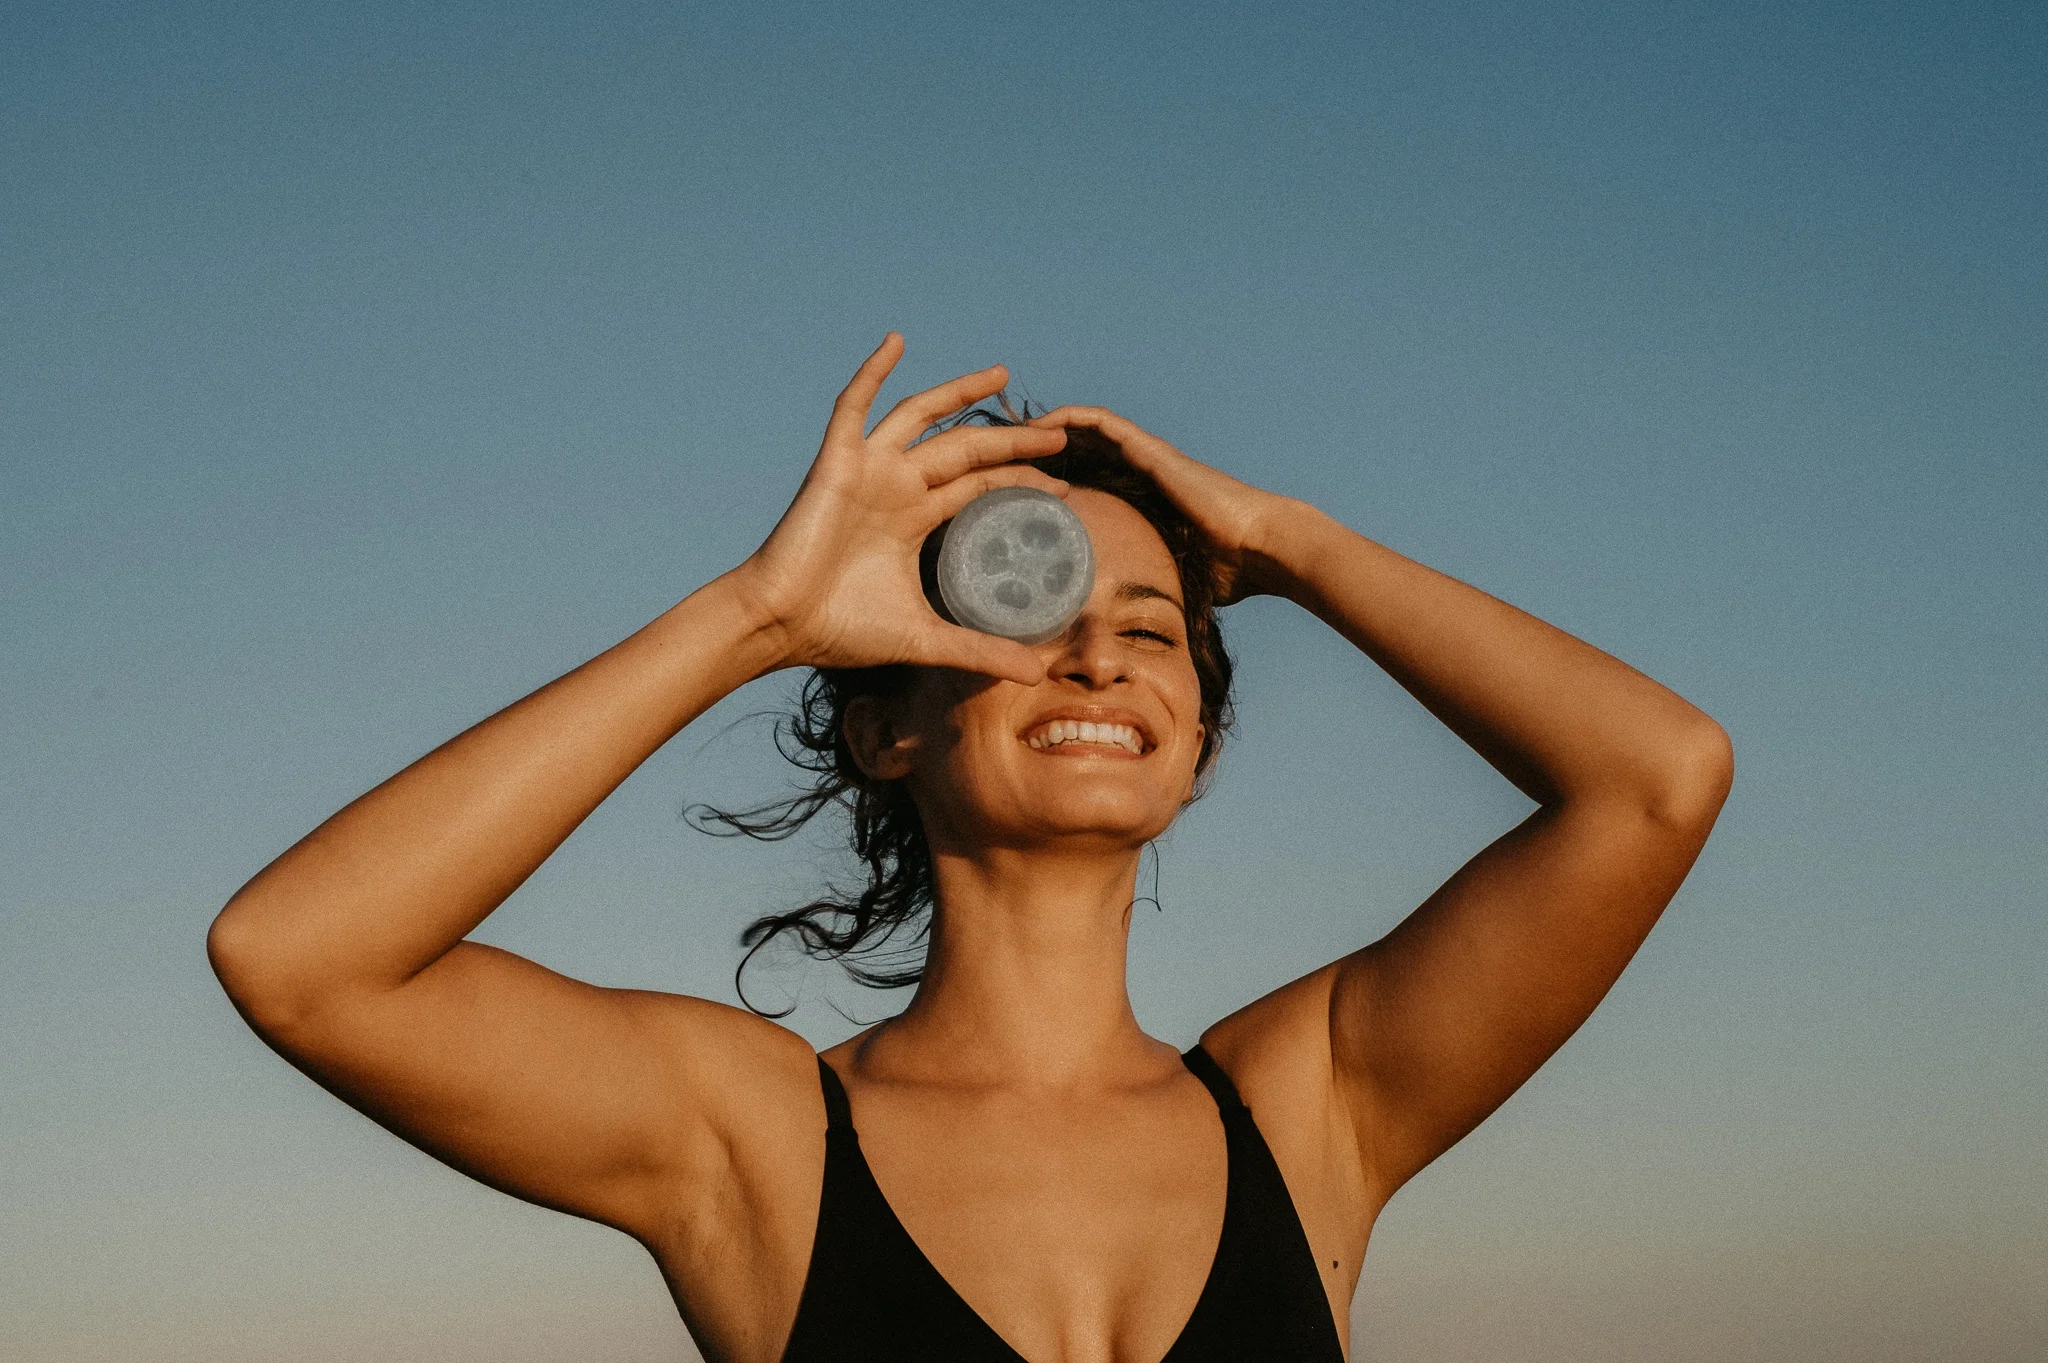
A hero image for a natural products business
About us photographs
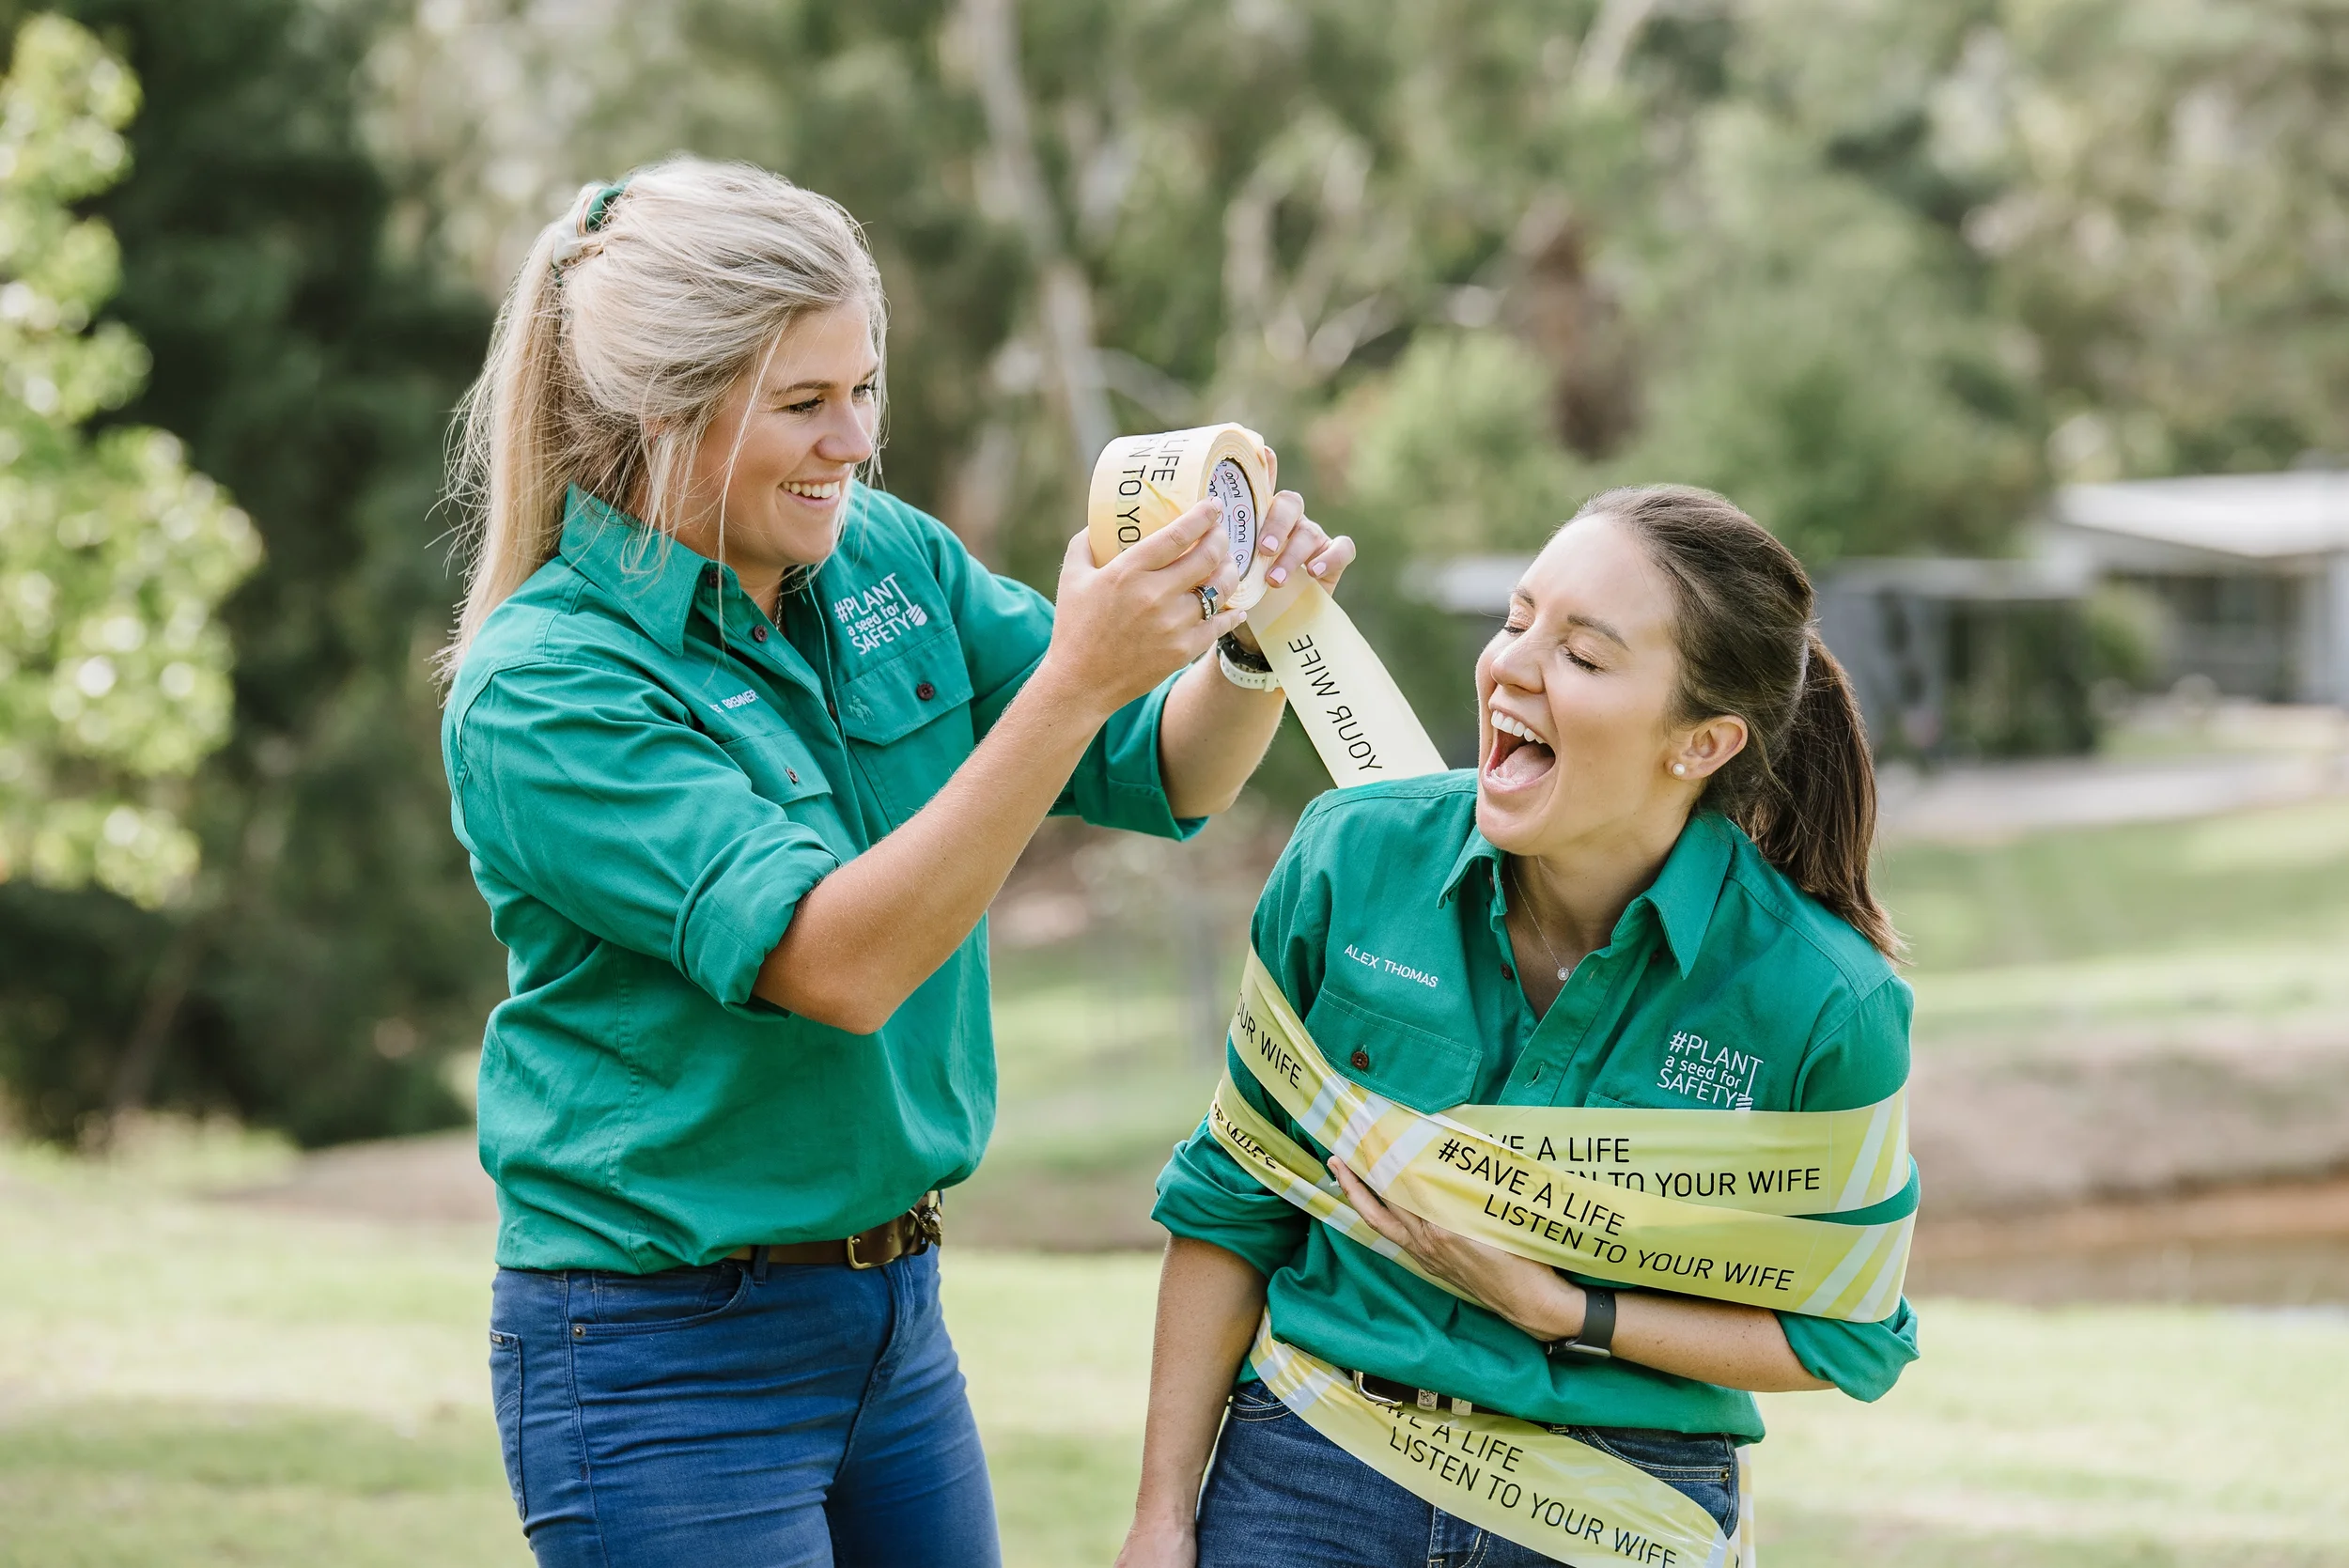
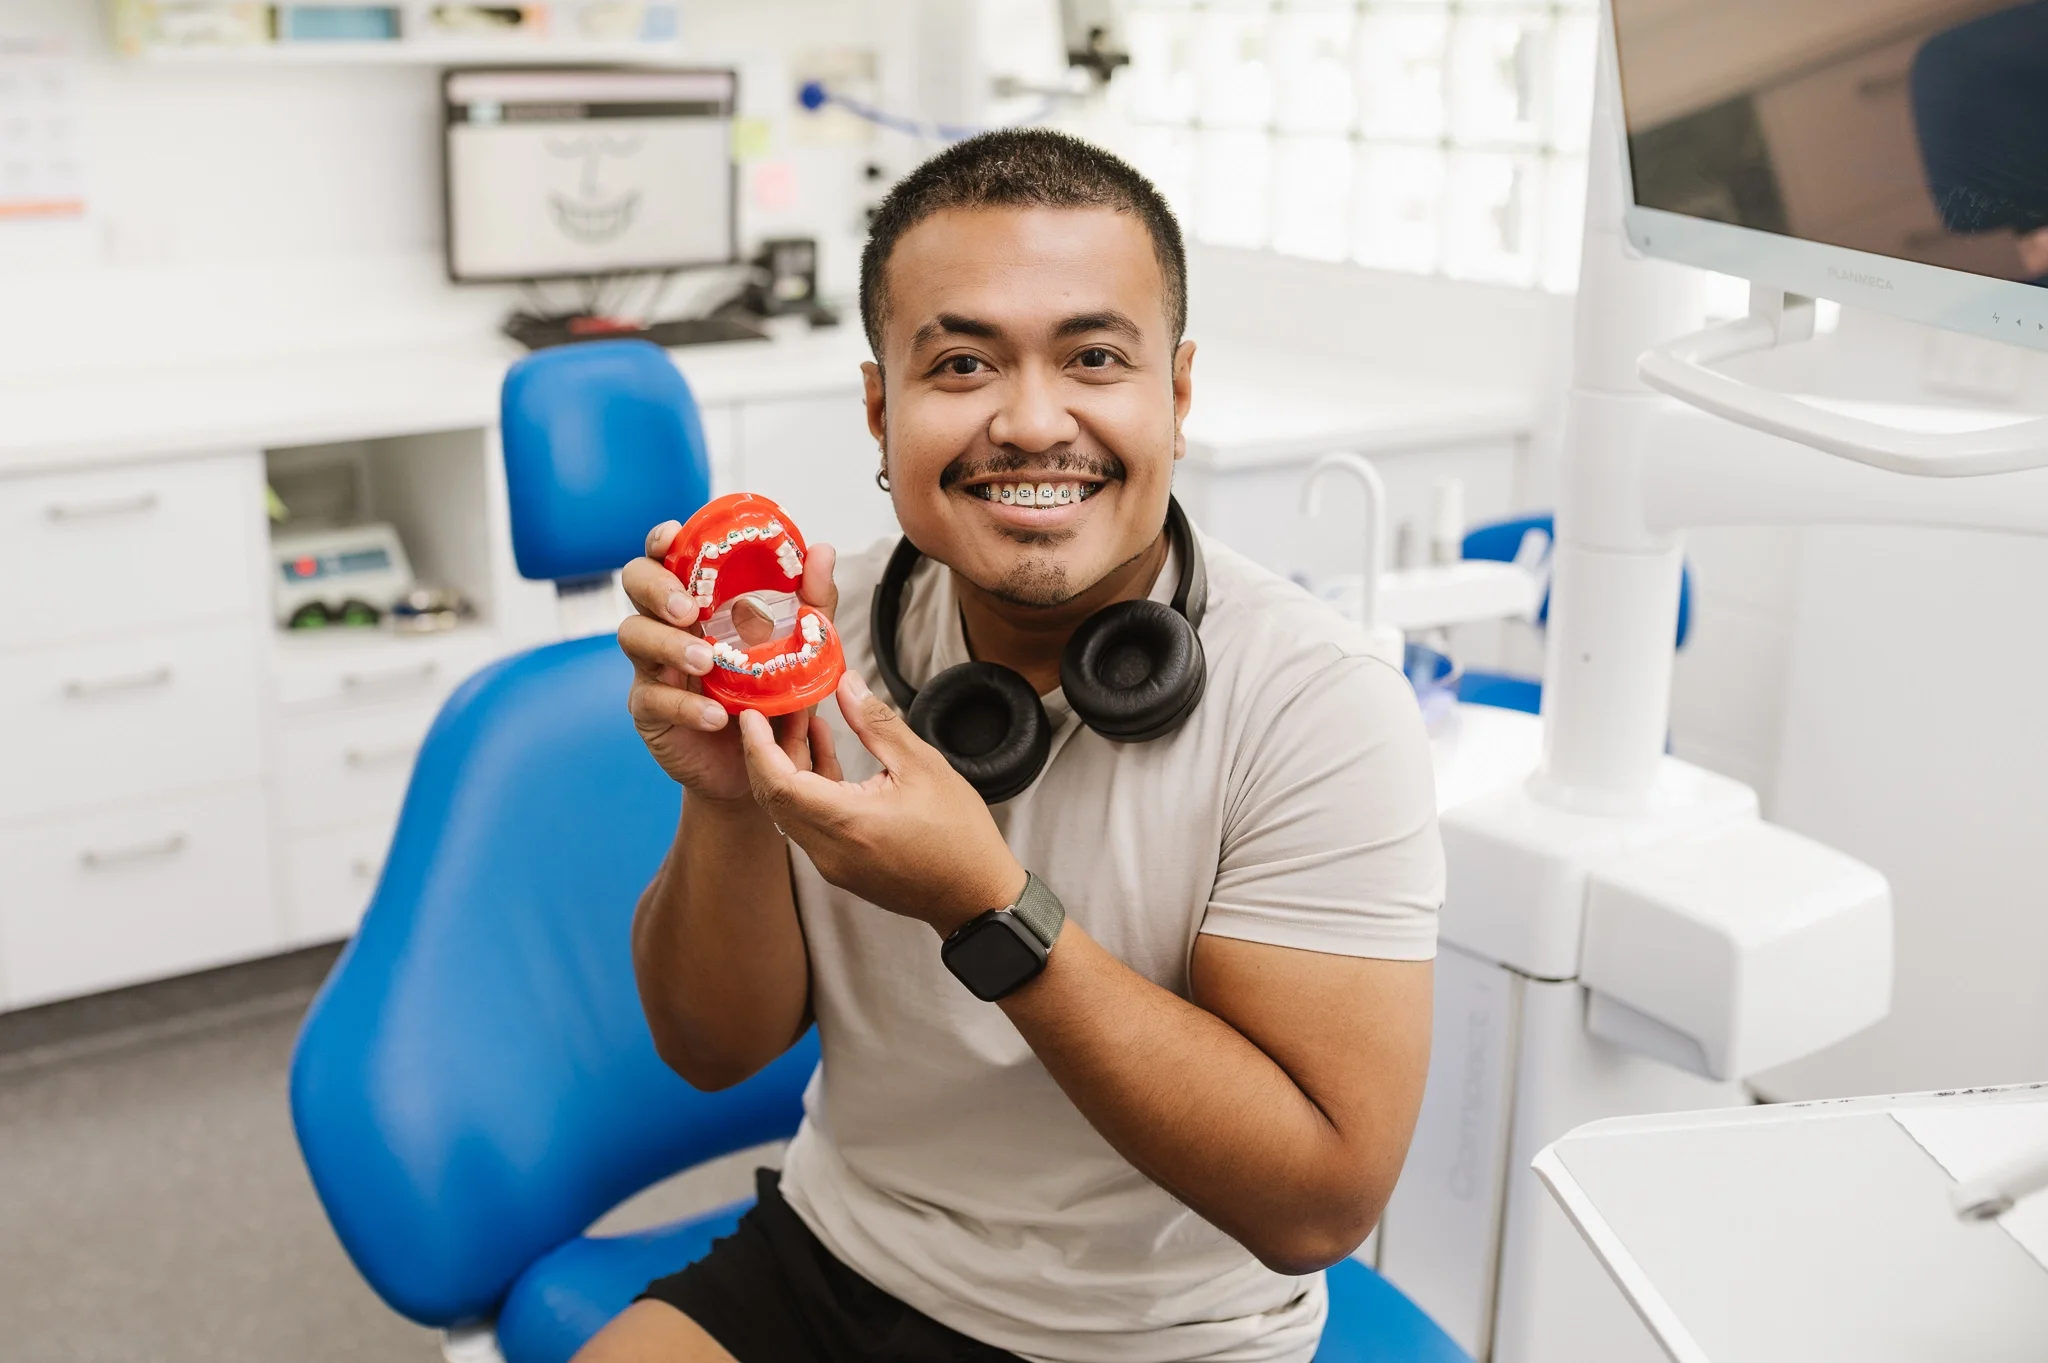
Your ‘About us’ photographs are a great way to build trust with your customers. They show the people behind your brand. This might include photographs of your whole team, a few key or representative people, or a large group photo. You may also choose to include photos of your business space here too. This can give customers more insight into your business and help build authority.
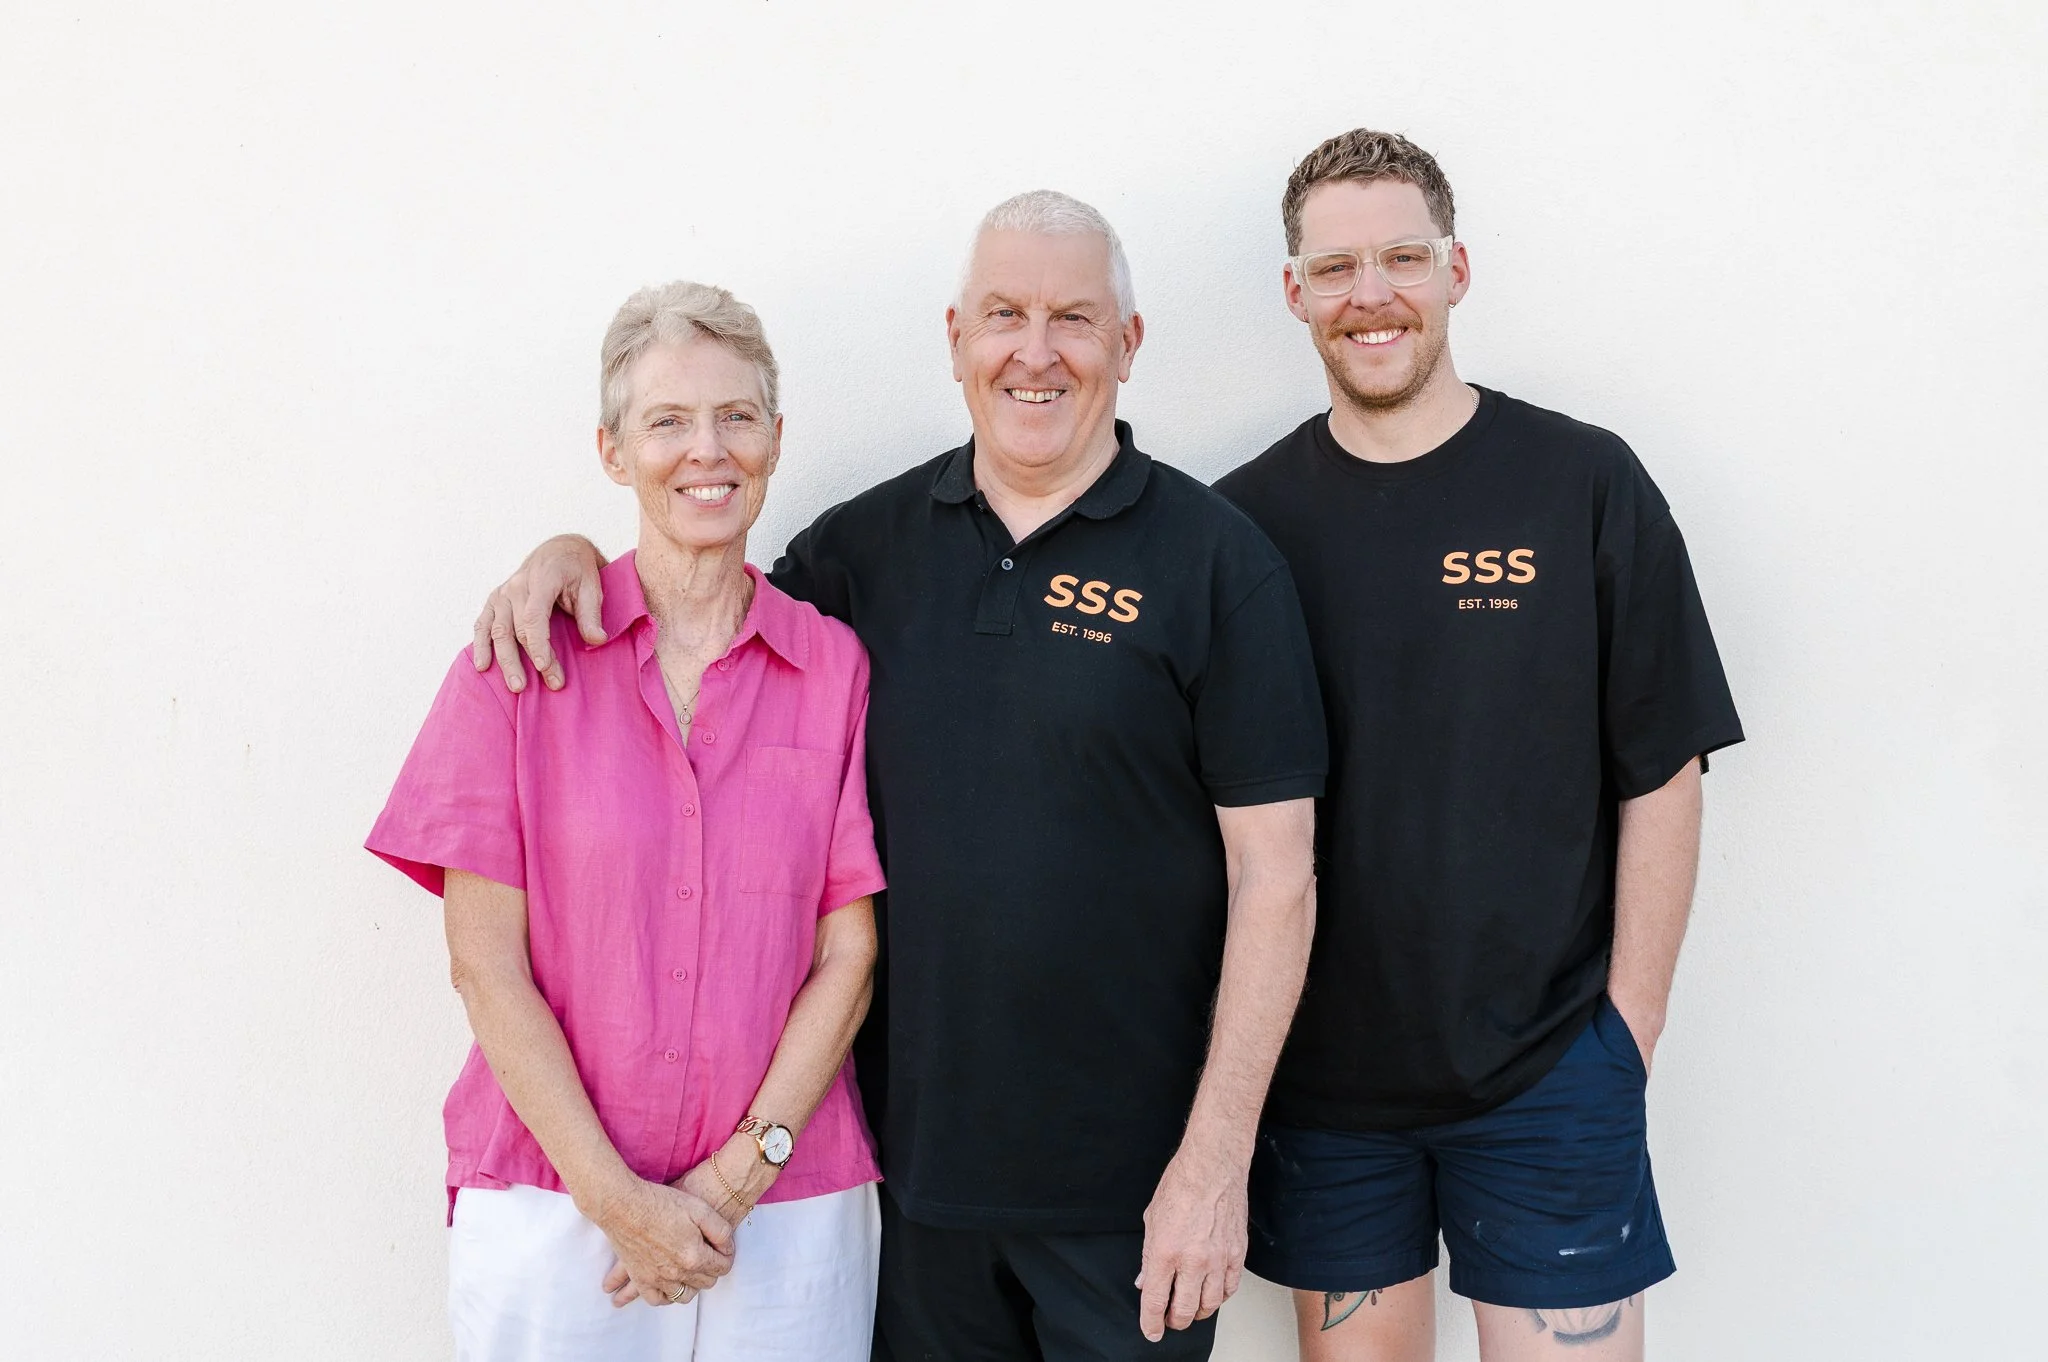
This ‘About us’ image gives you an immediate connection to this warm family run business.
Products and services pages
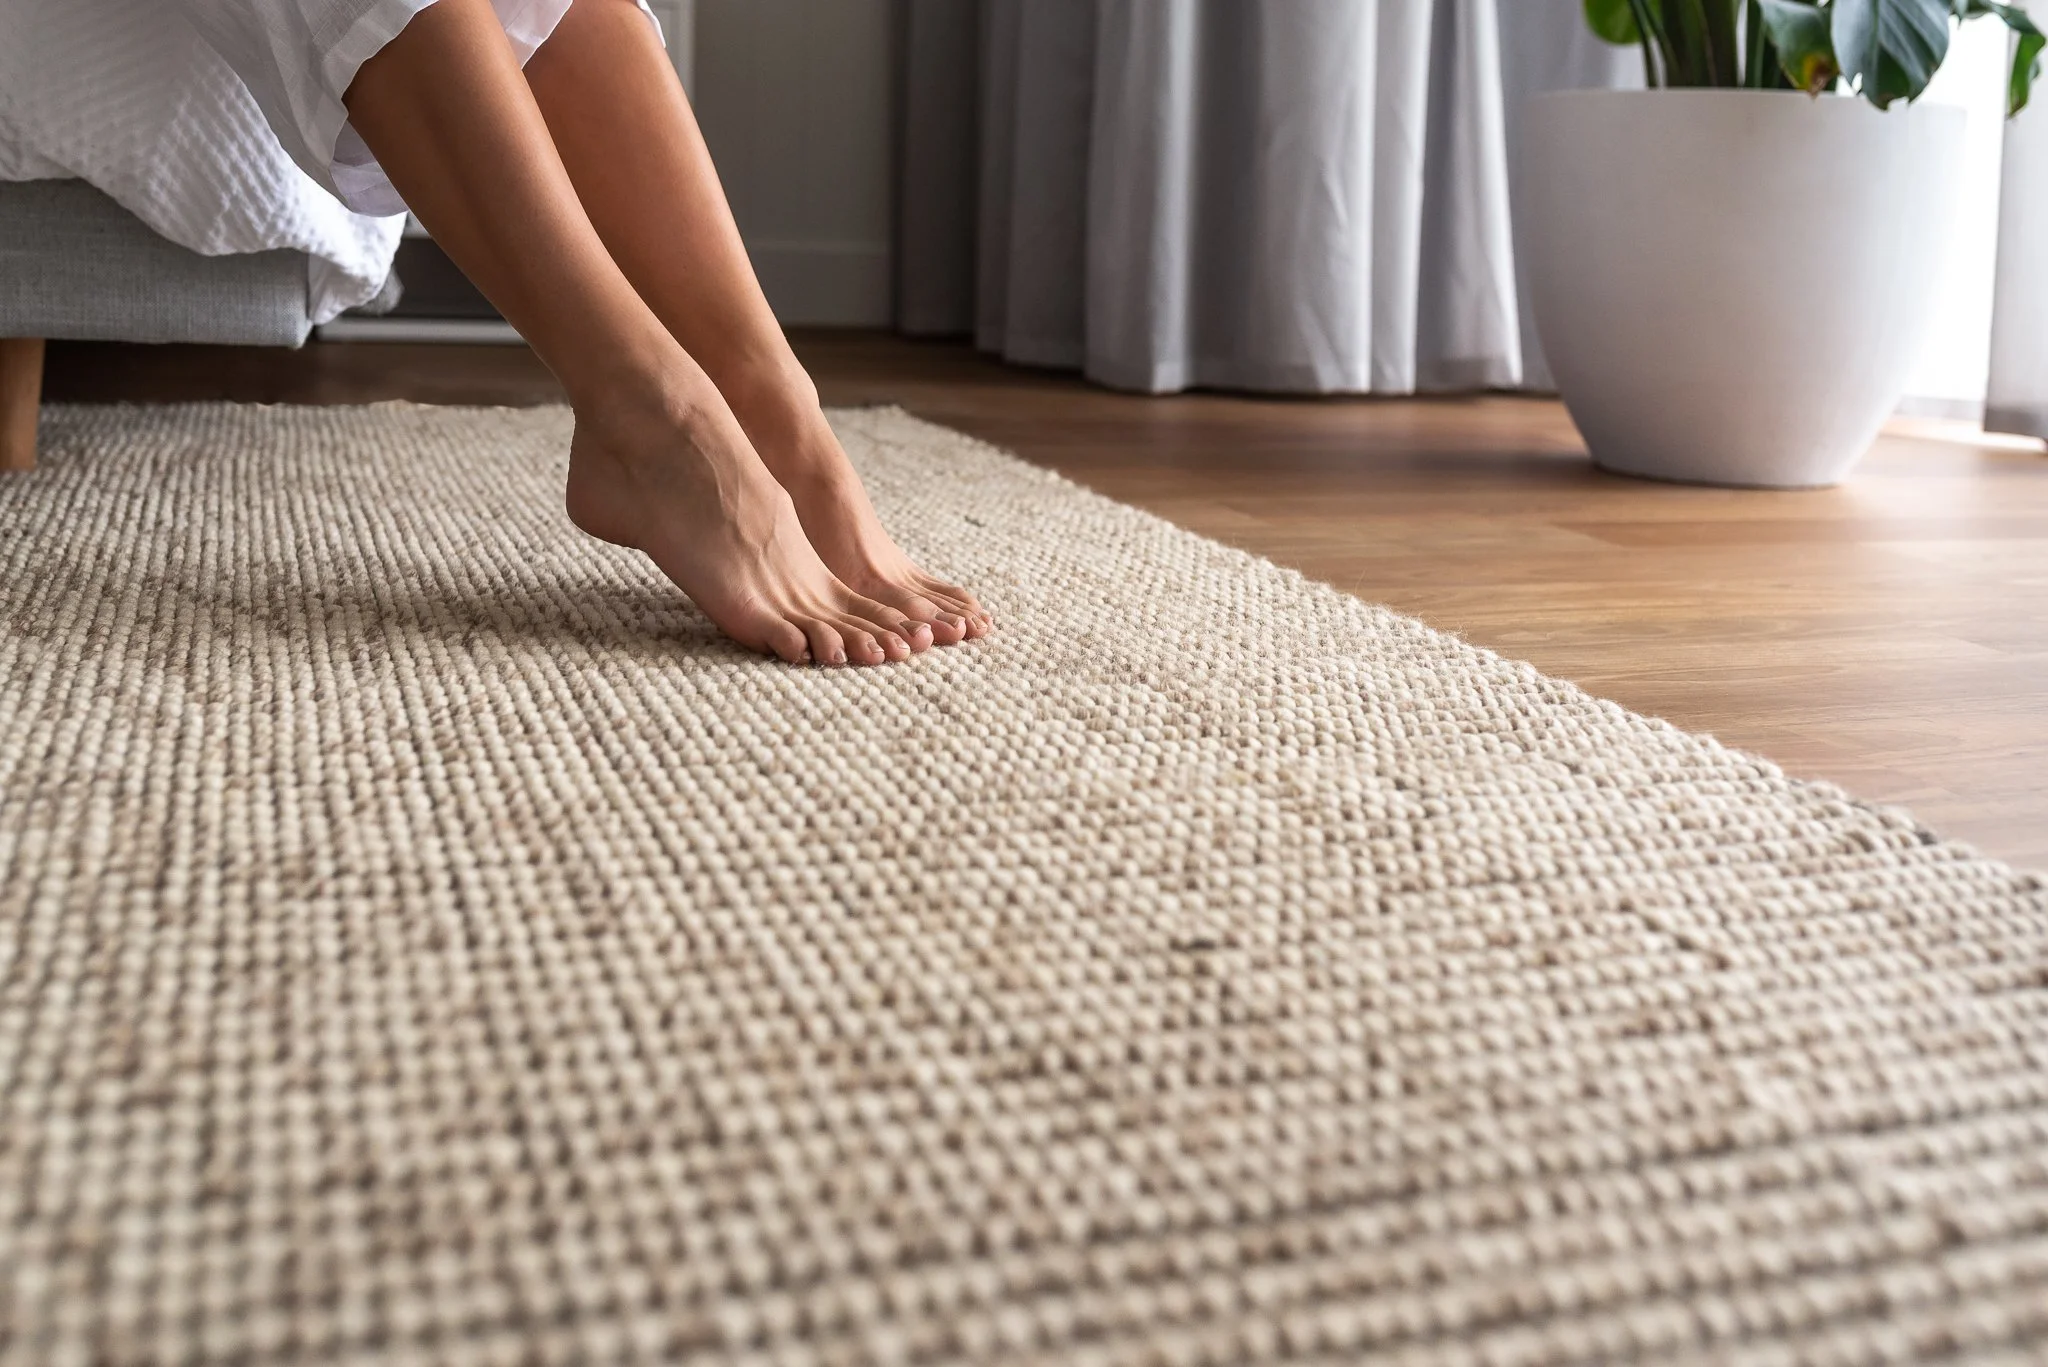
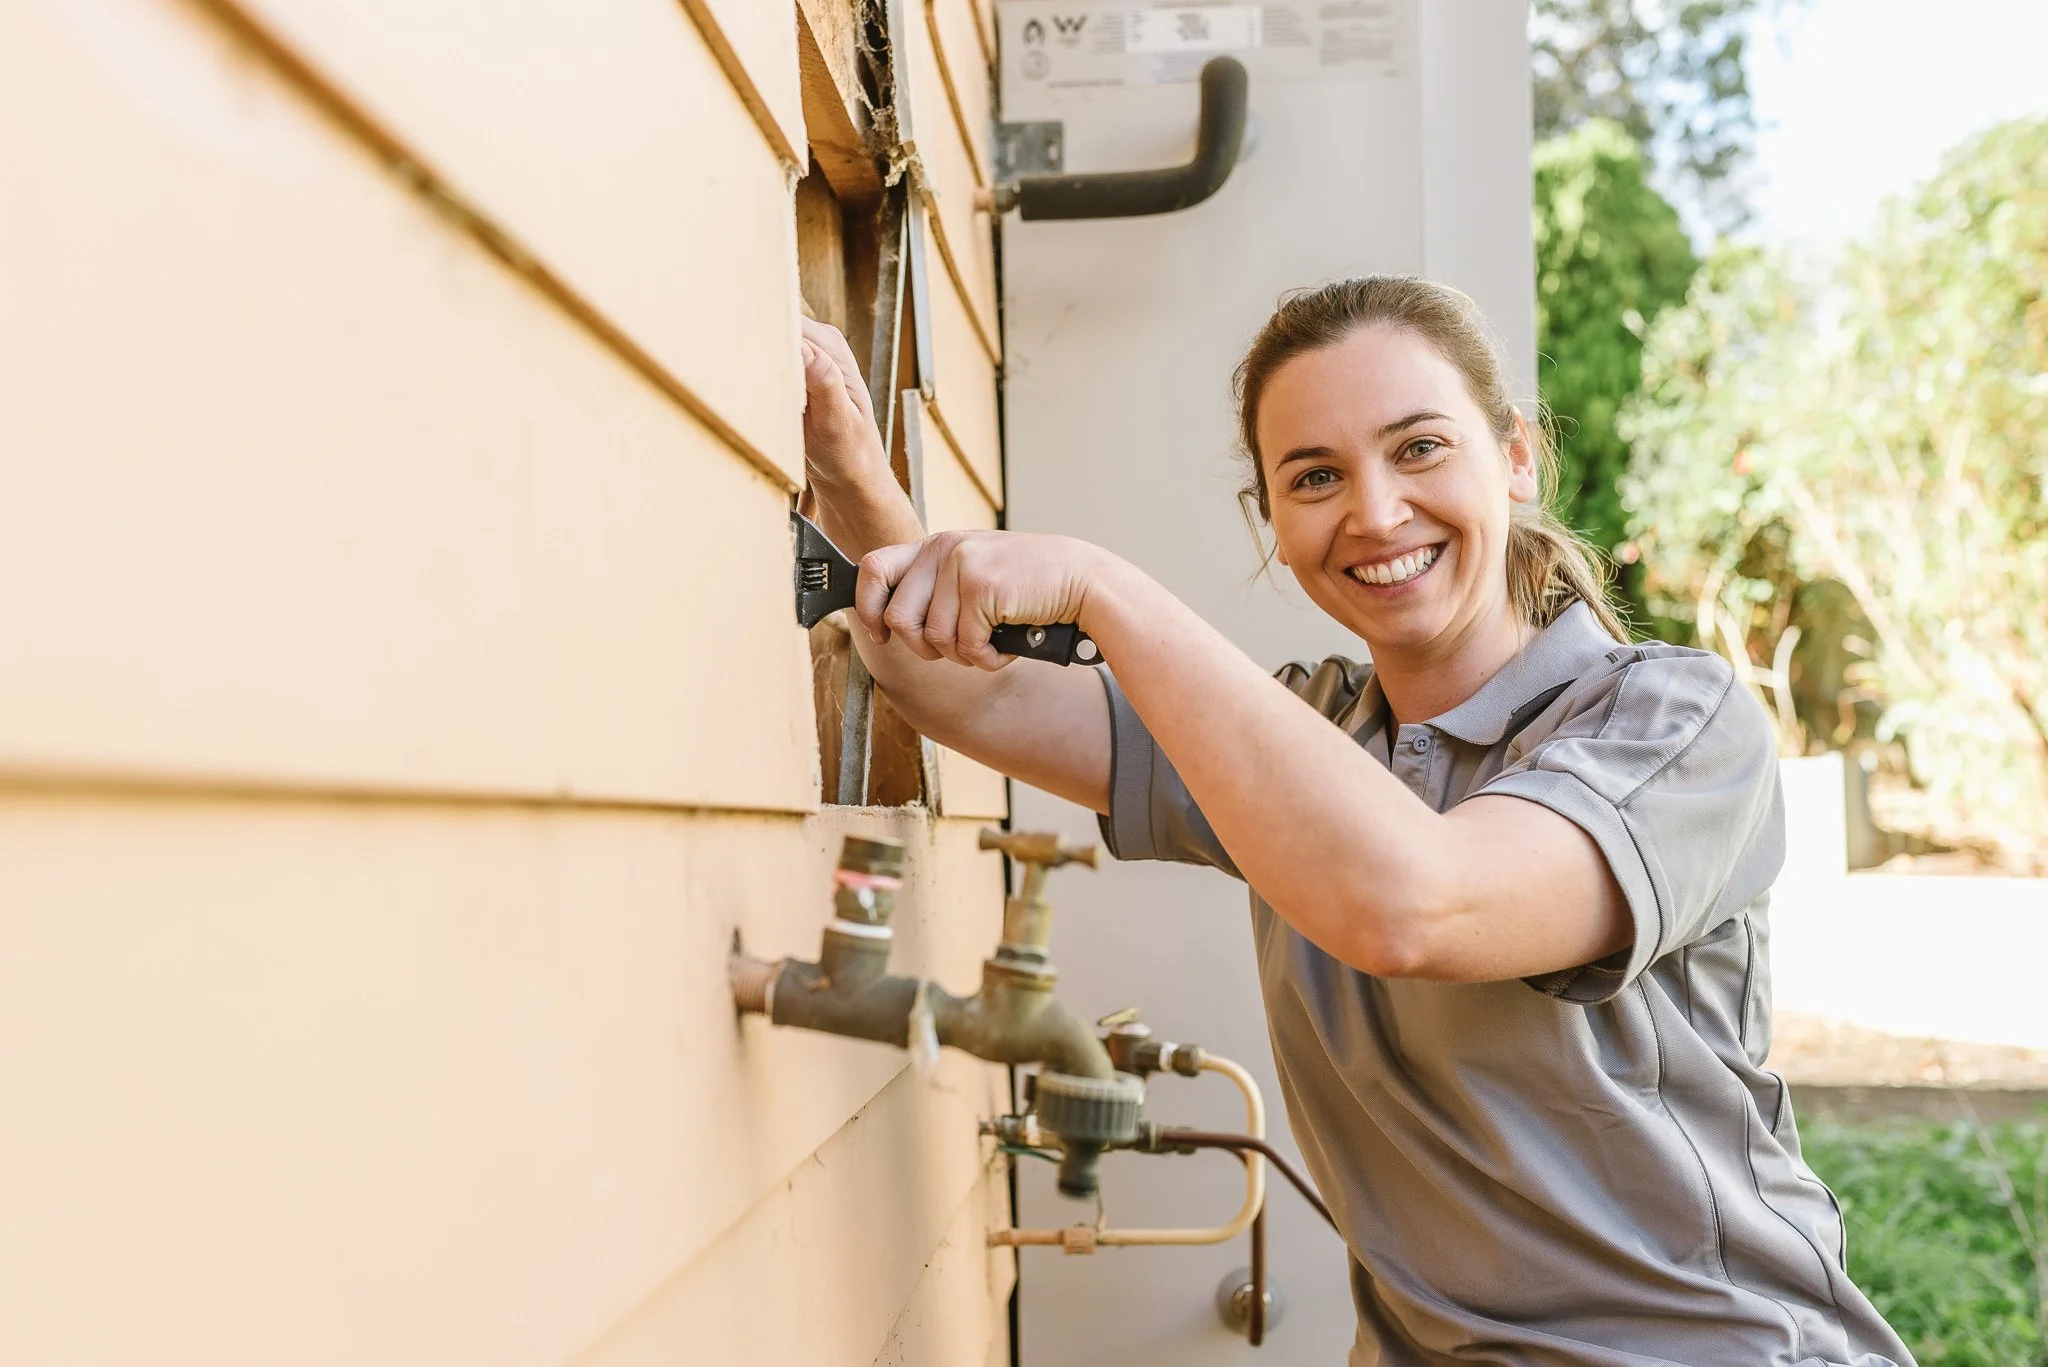
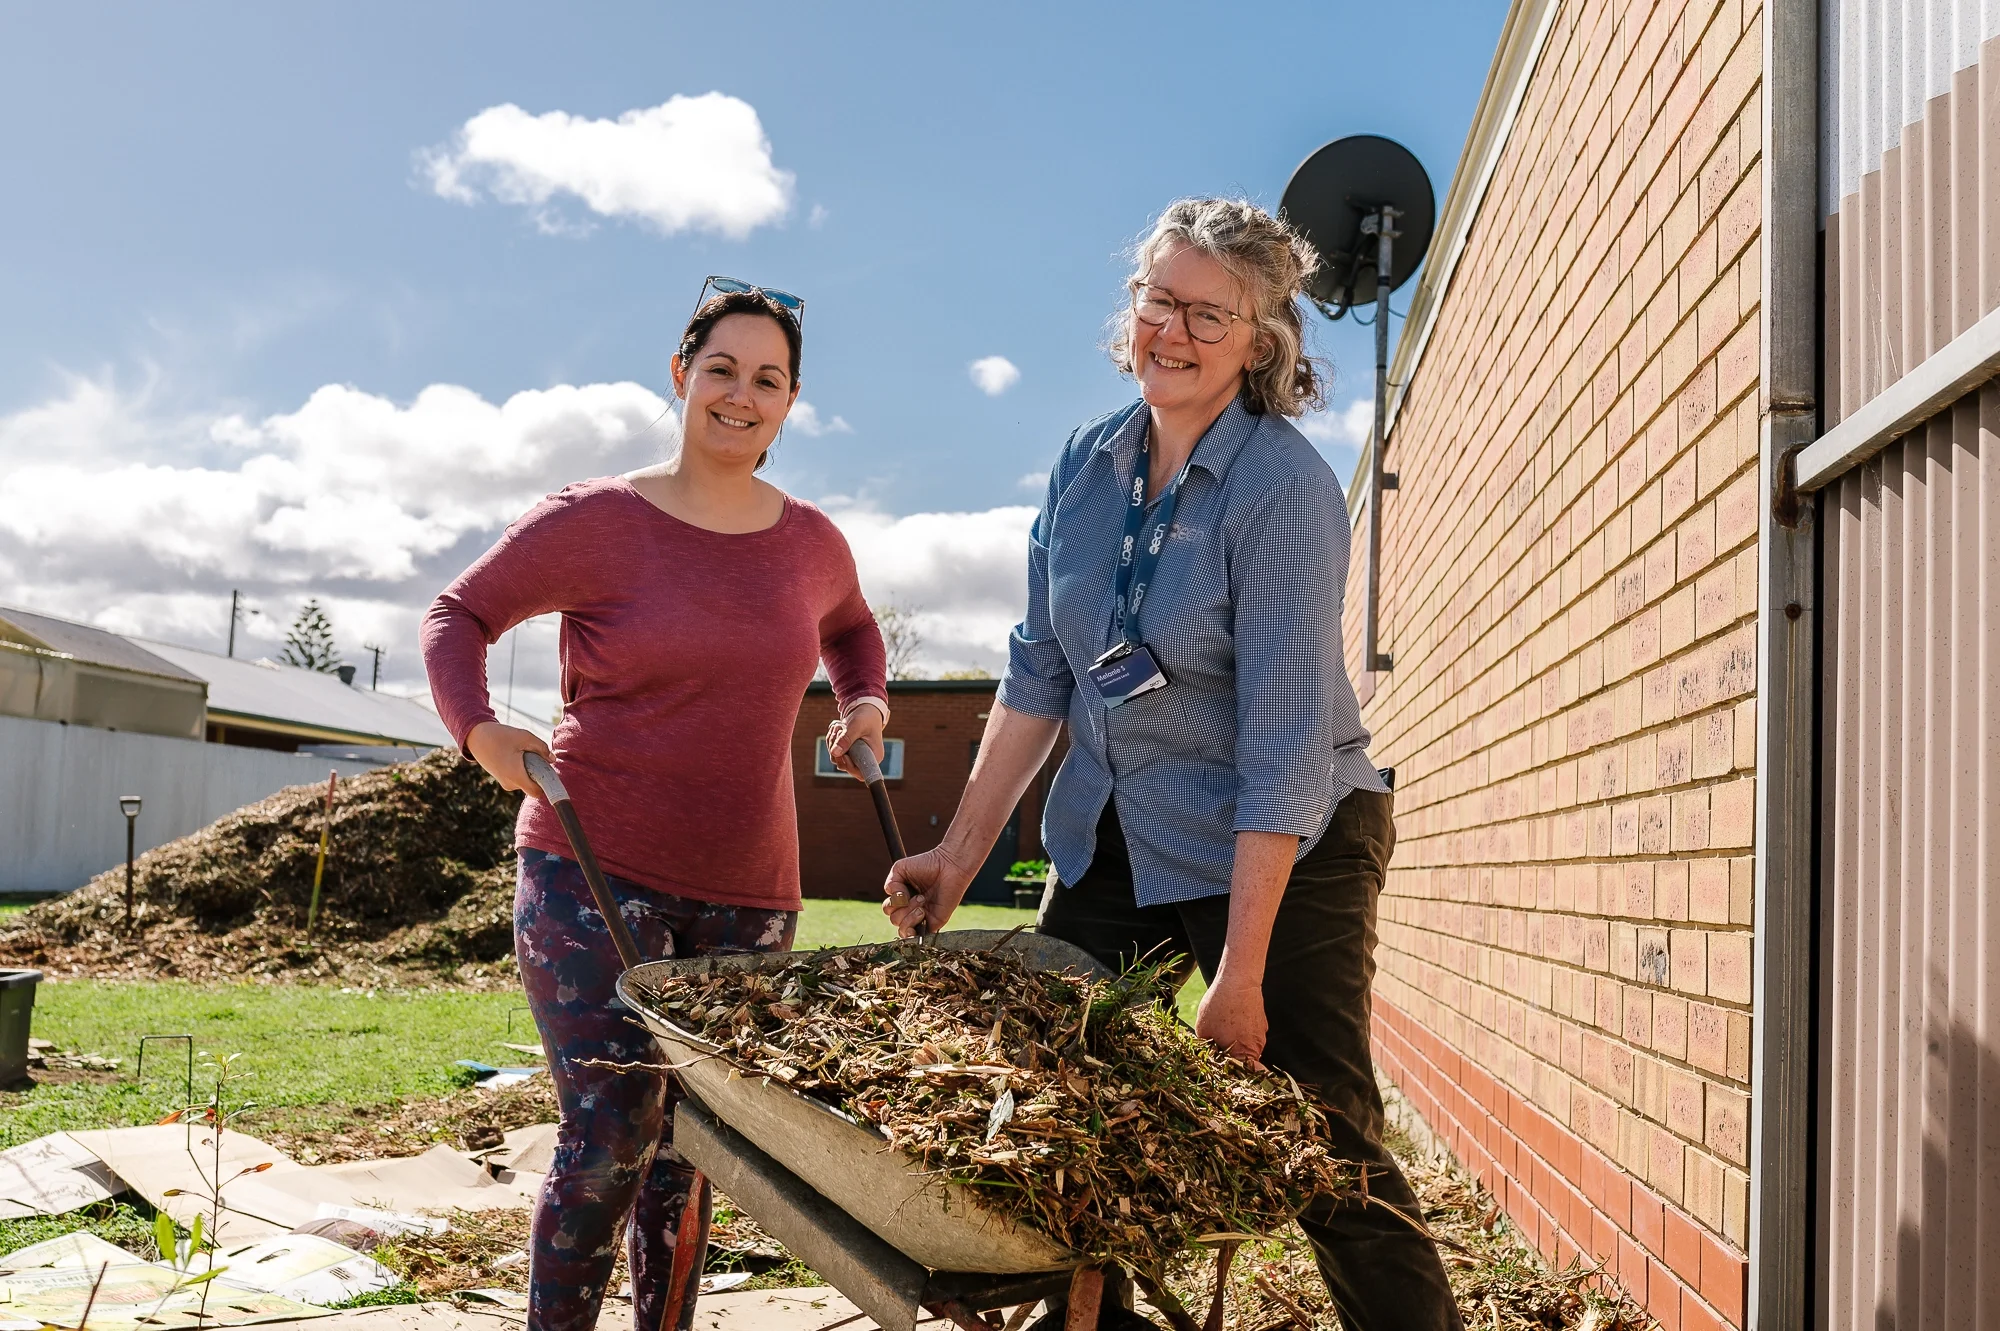
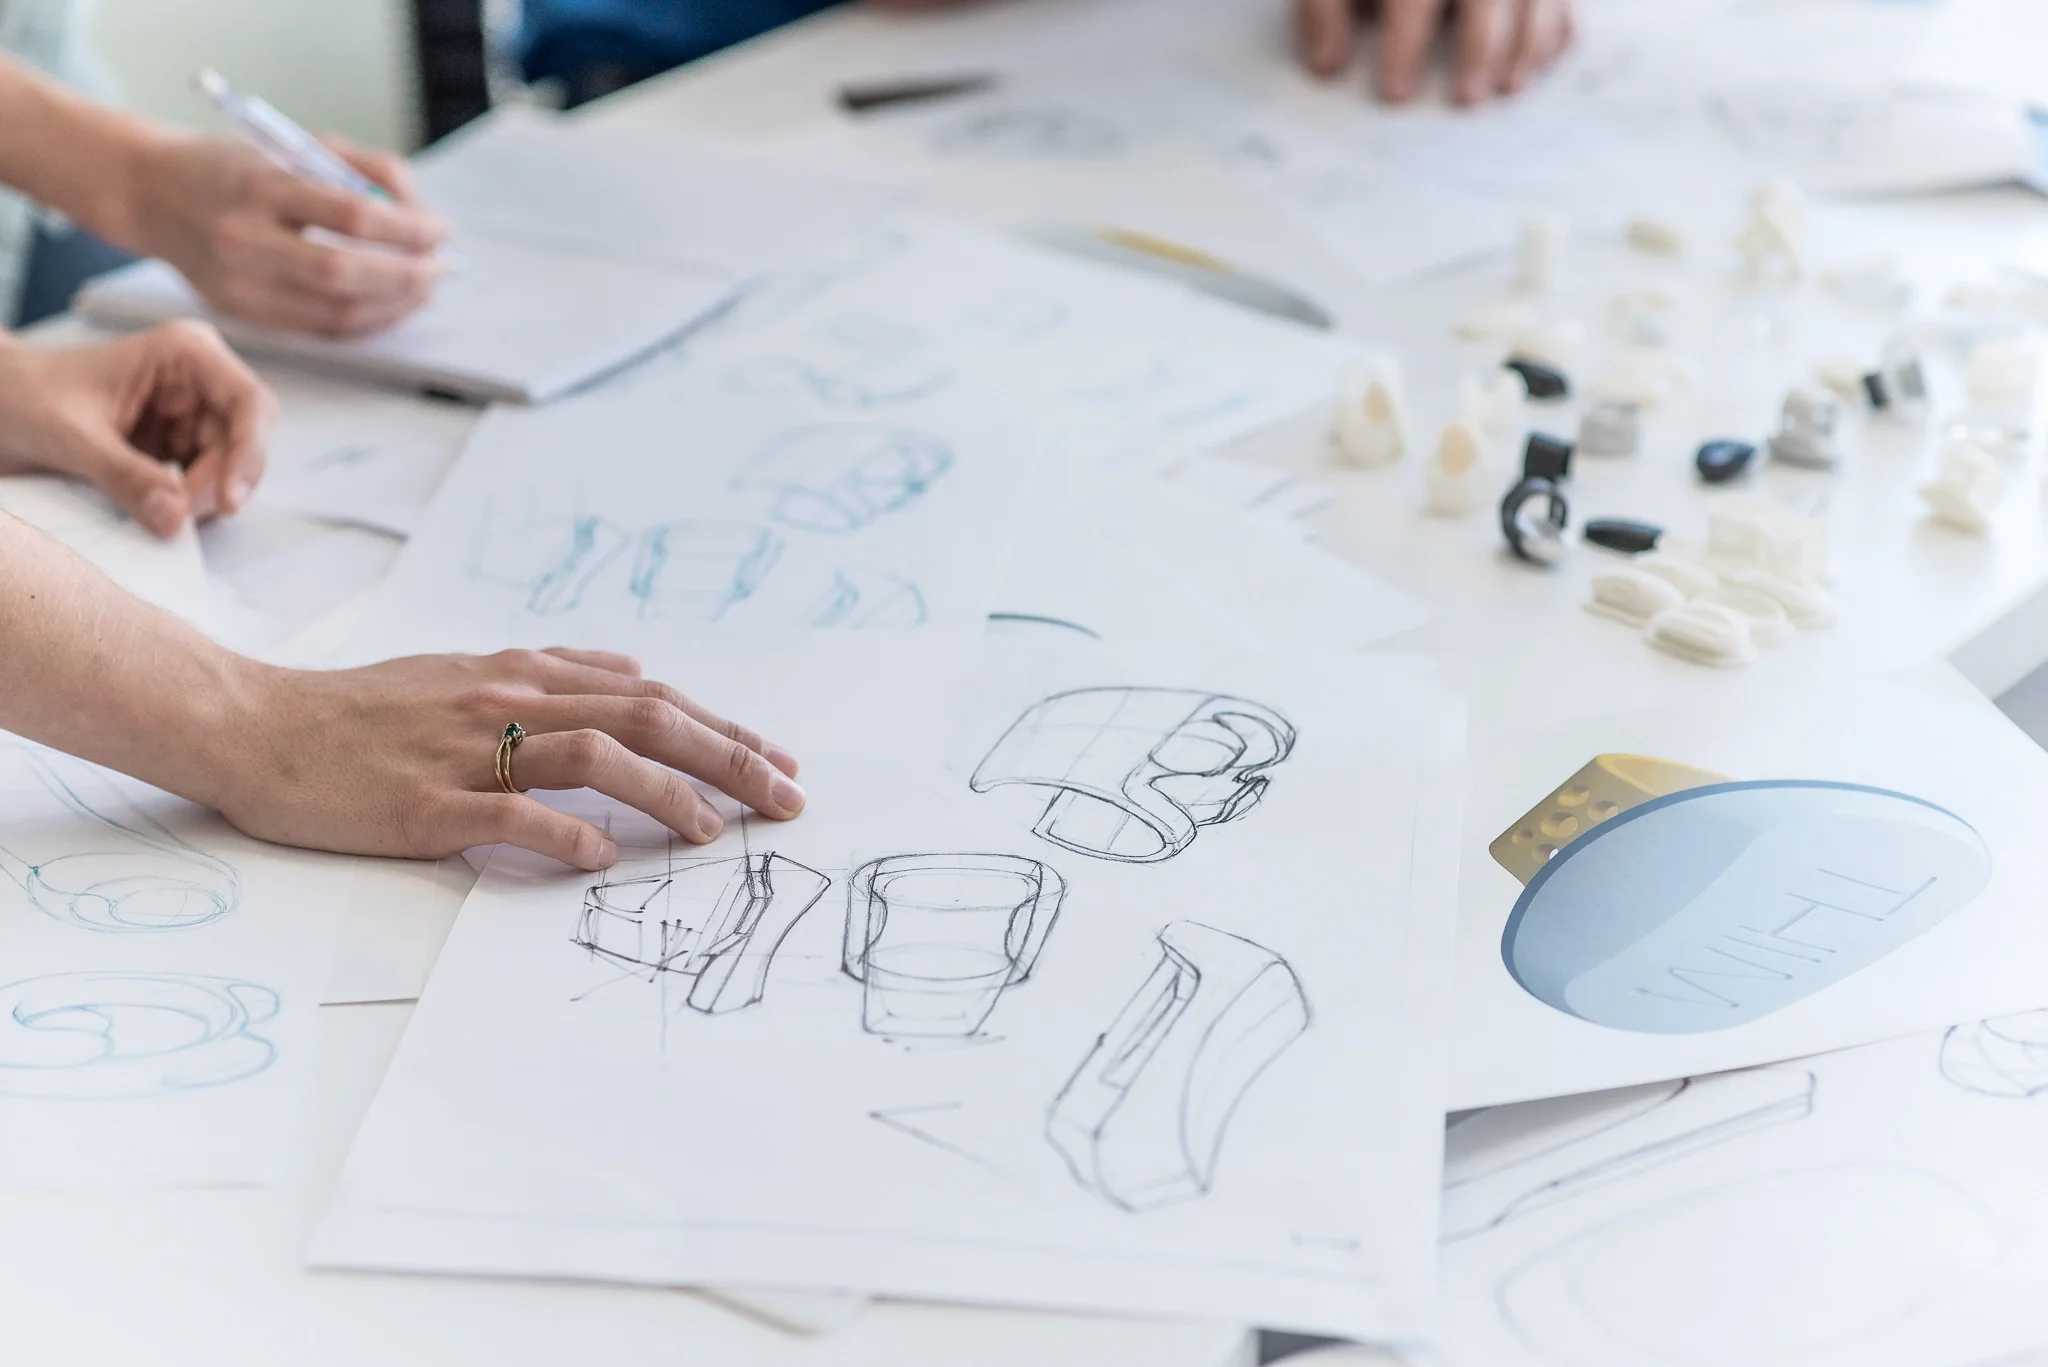
For your products and services pages, consider showing the journey from the initial consultation through to the final outcome. Behind-the-scenes photos can also help tell your story. These might show your workspace, facilities, tools or technology in action. You can also include images that highlight the quality, craftsmanship and fine details of what you offer.
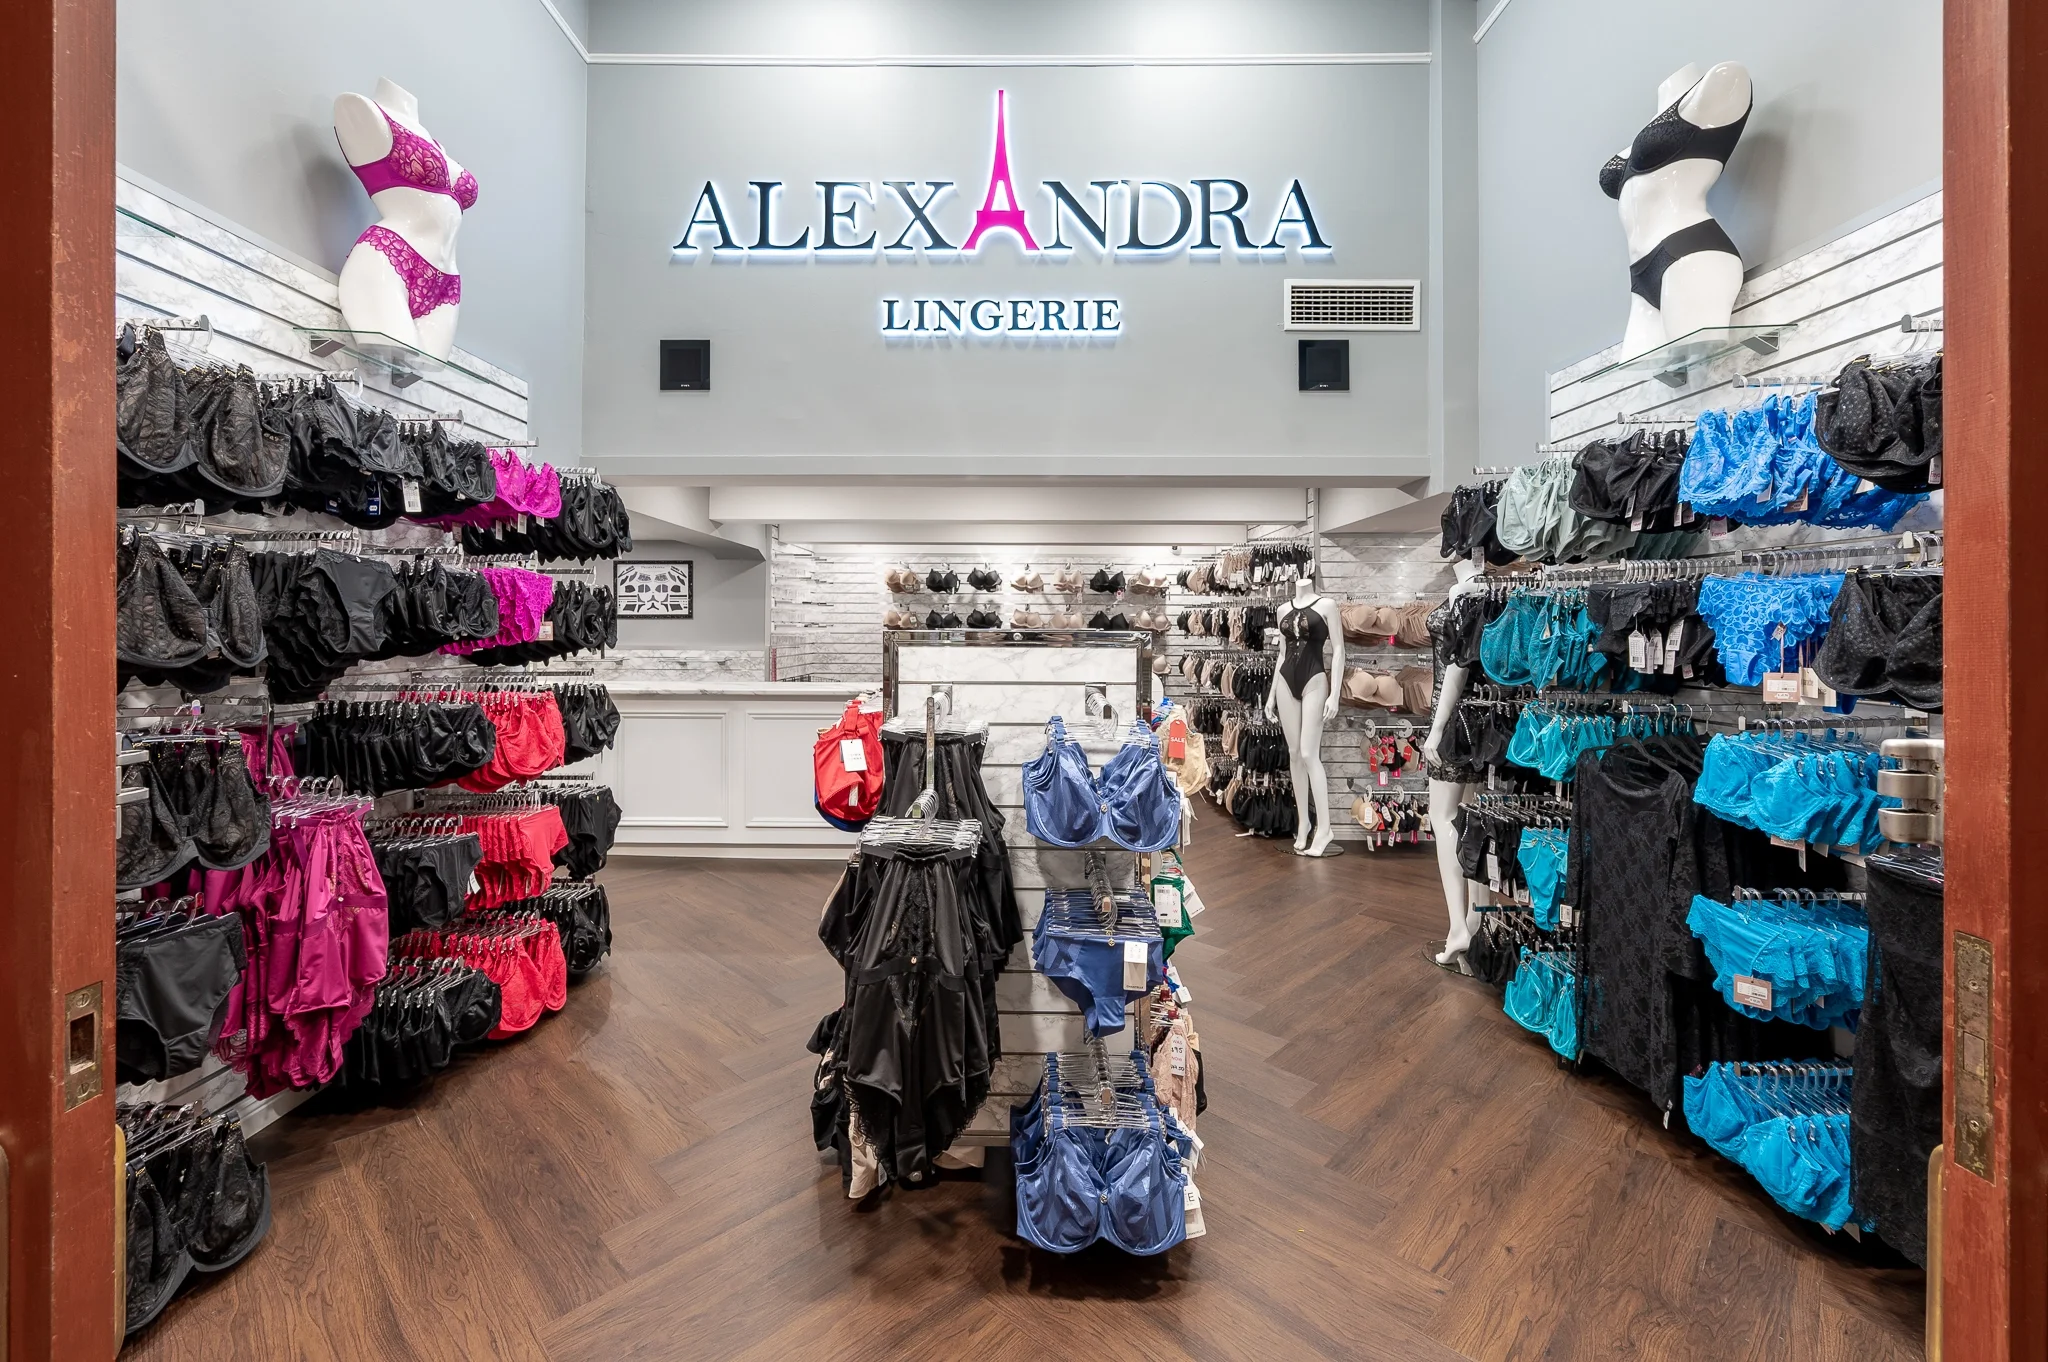
You may simply need a selection of key images to help explain your different products or services. It’s also worth noting that while business and brand photography may capture a few products or a shop overview, a dedicated product gallery is different. If a listing of your products is important, it’s best to plan a dedicated product photography shoot.
Contact page
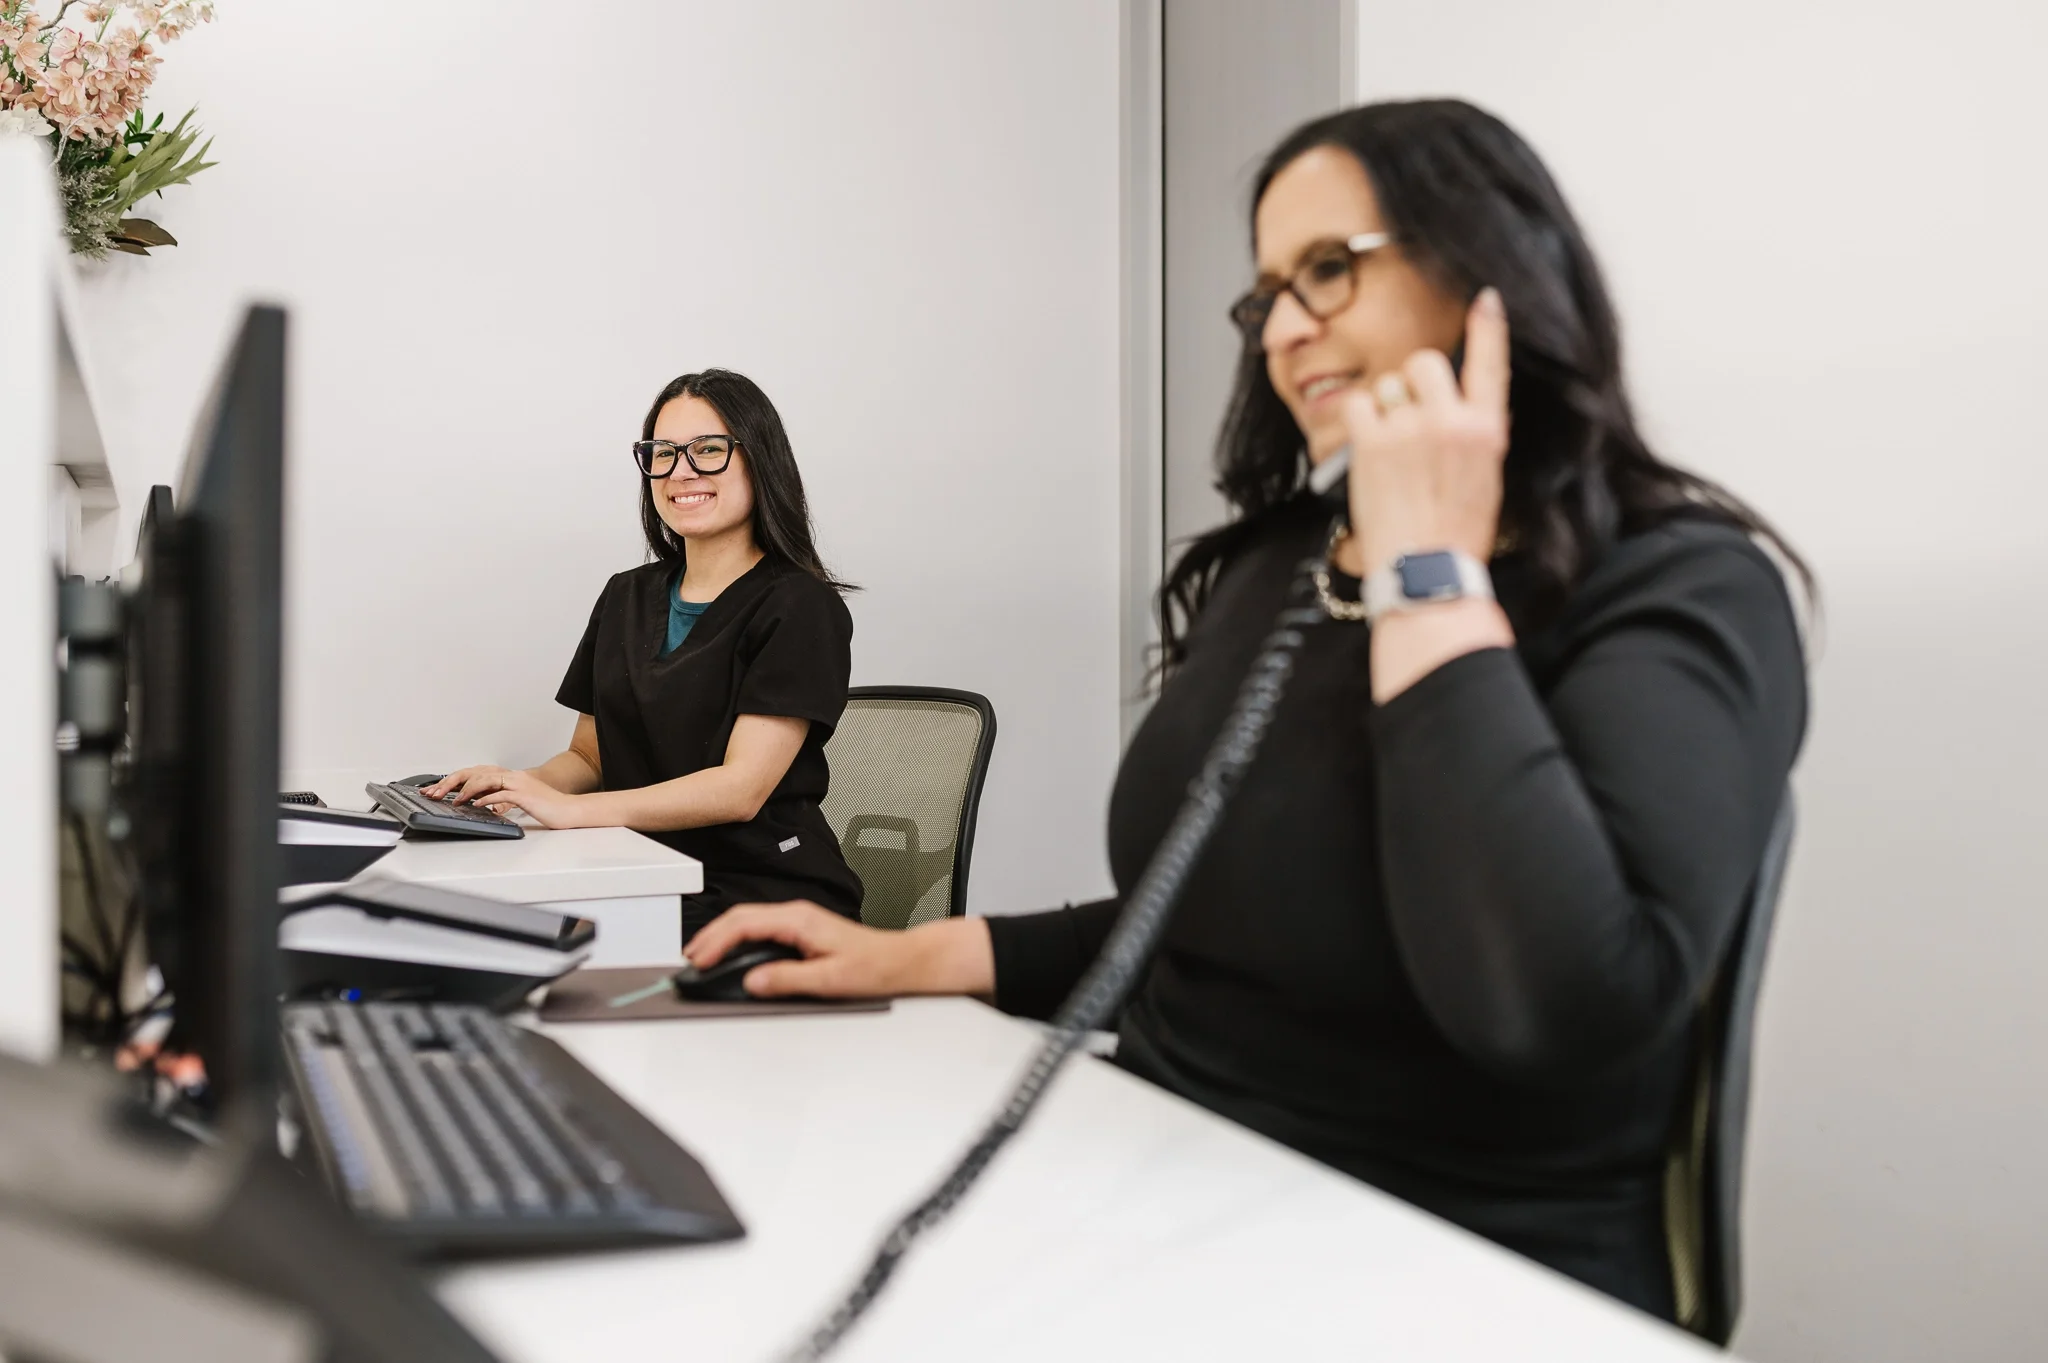
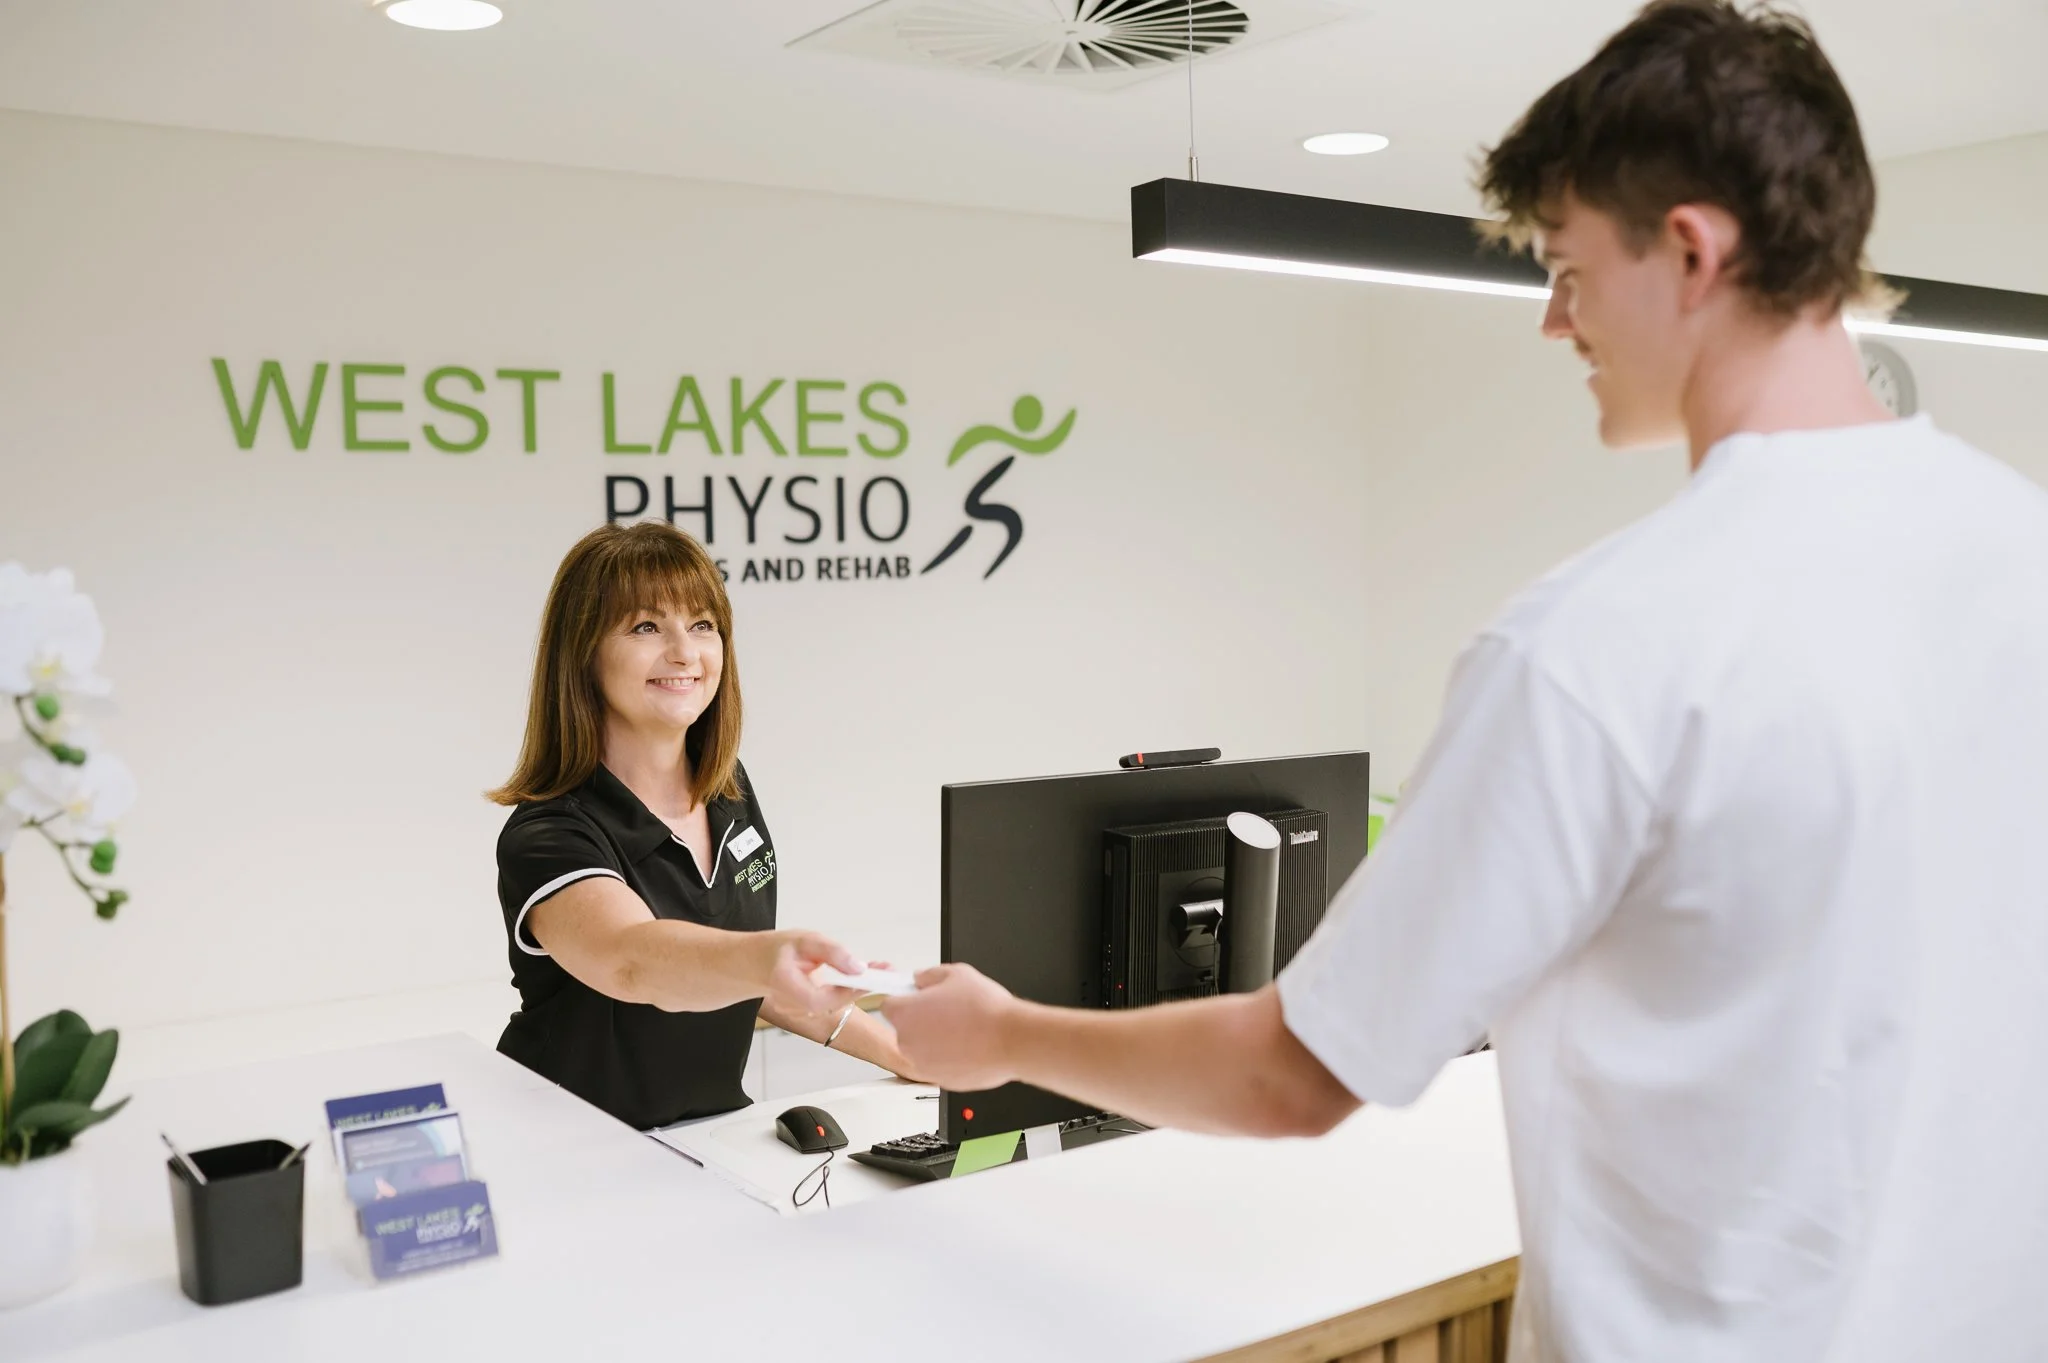
Warm and friendly photos work best for your contact page. You might include a photo of the person who will answer your call or be your first point of contact. This could be a member of your reception team or one of the founders. The aim is to show the friendly, welcoming side of your business and help people feel comfortable getting in touch.
For businesses with a public-facing location, a photo of the exterior can also be helpful. This makes it easier for customers to recognise your business when they arrive.
Articles, blogs and other supporting images
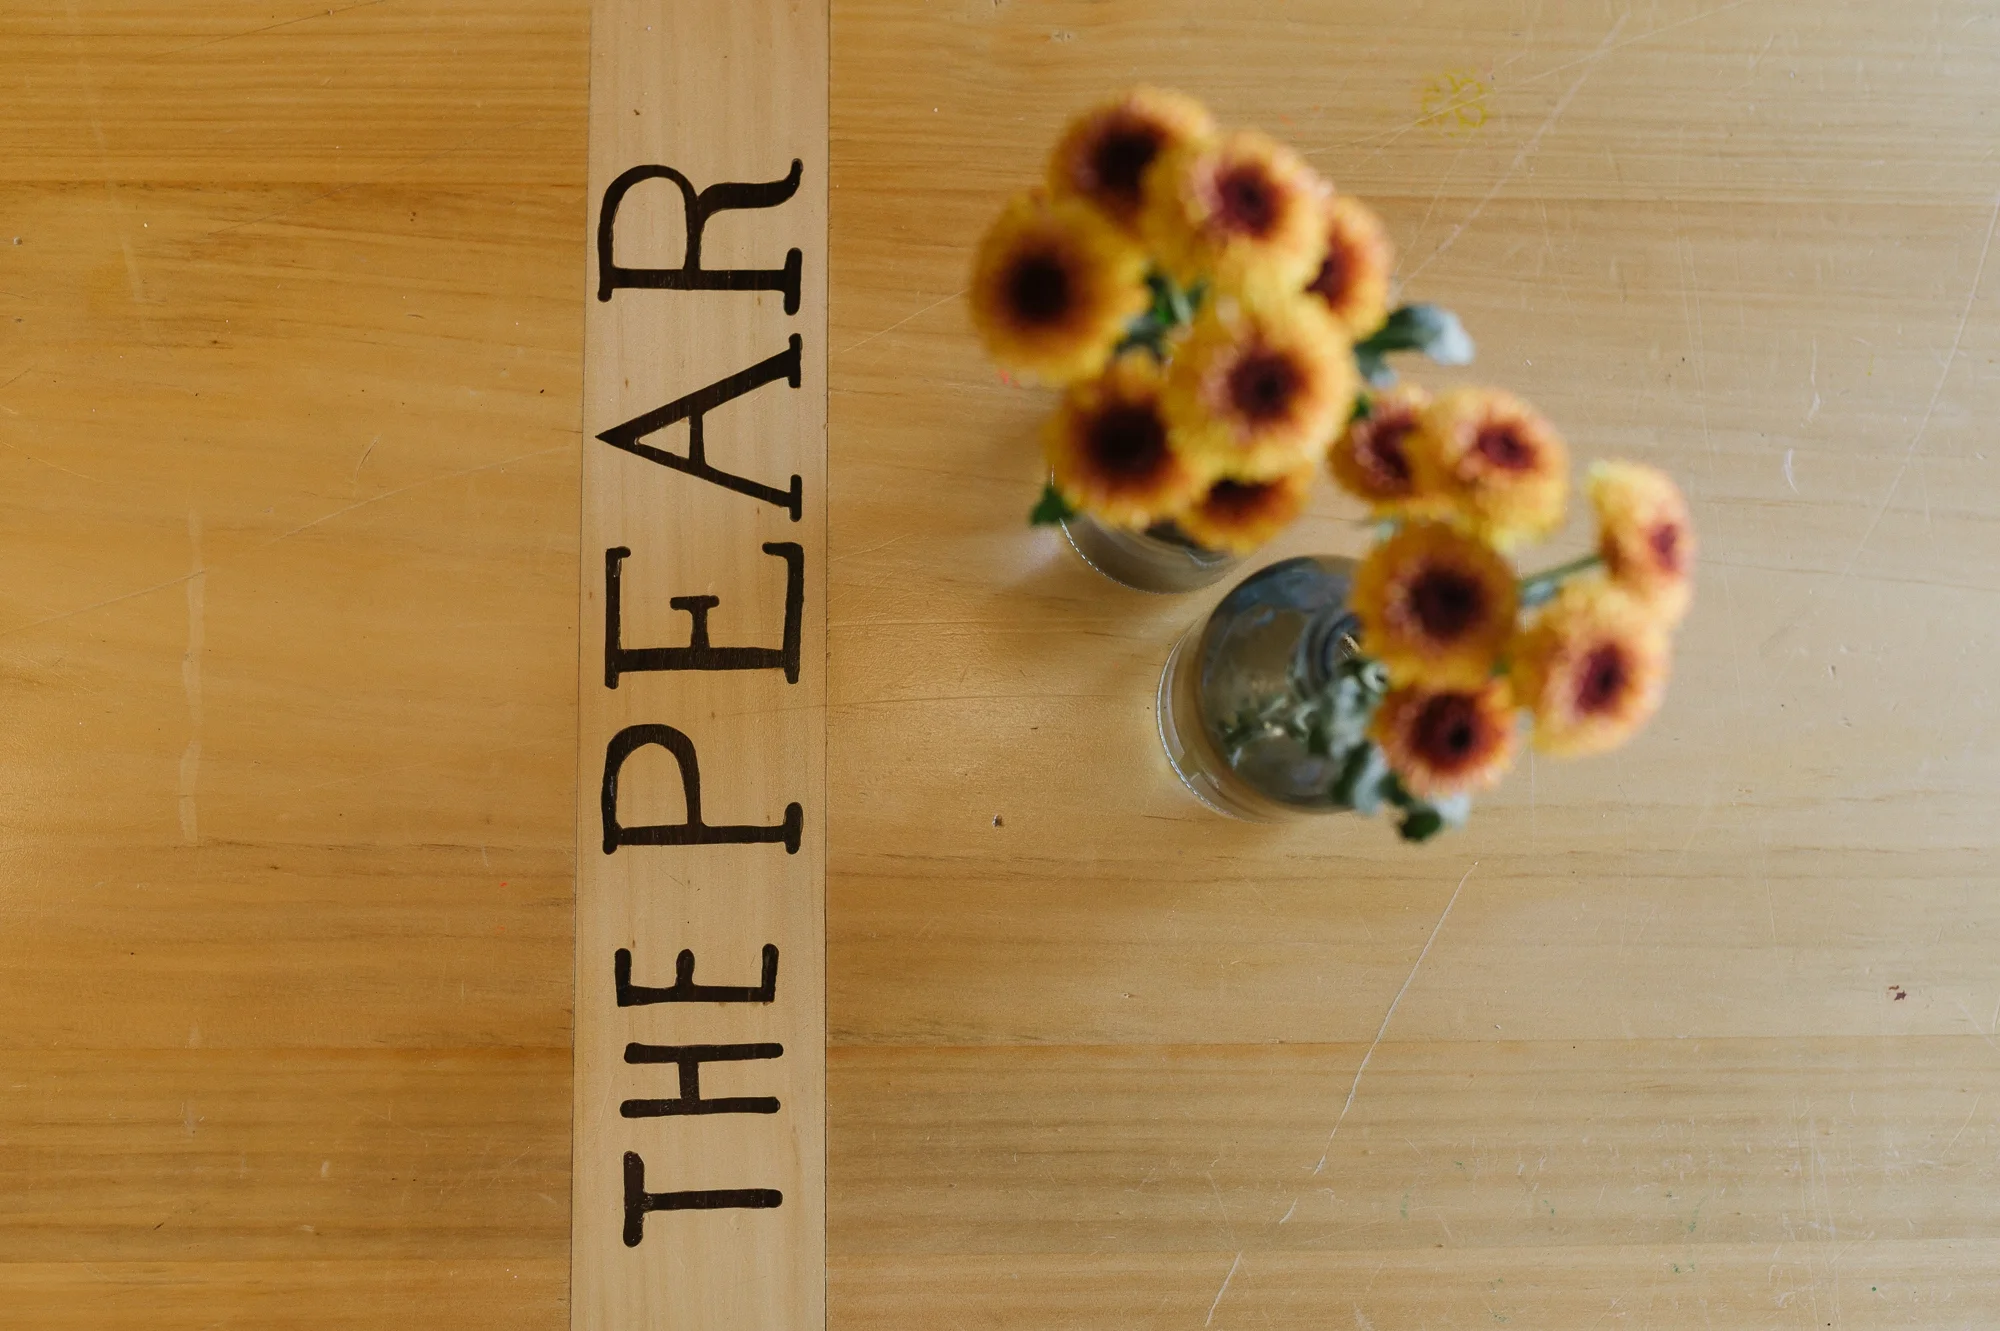
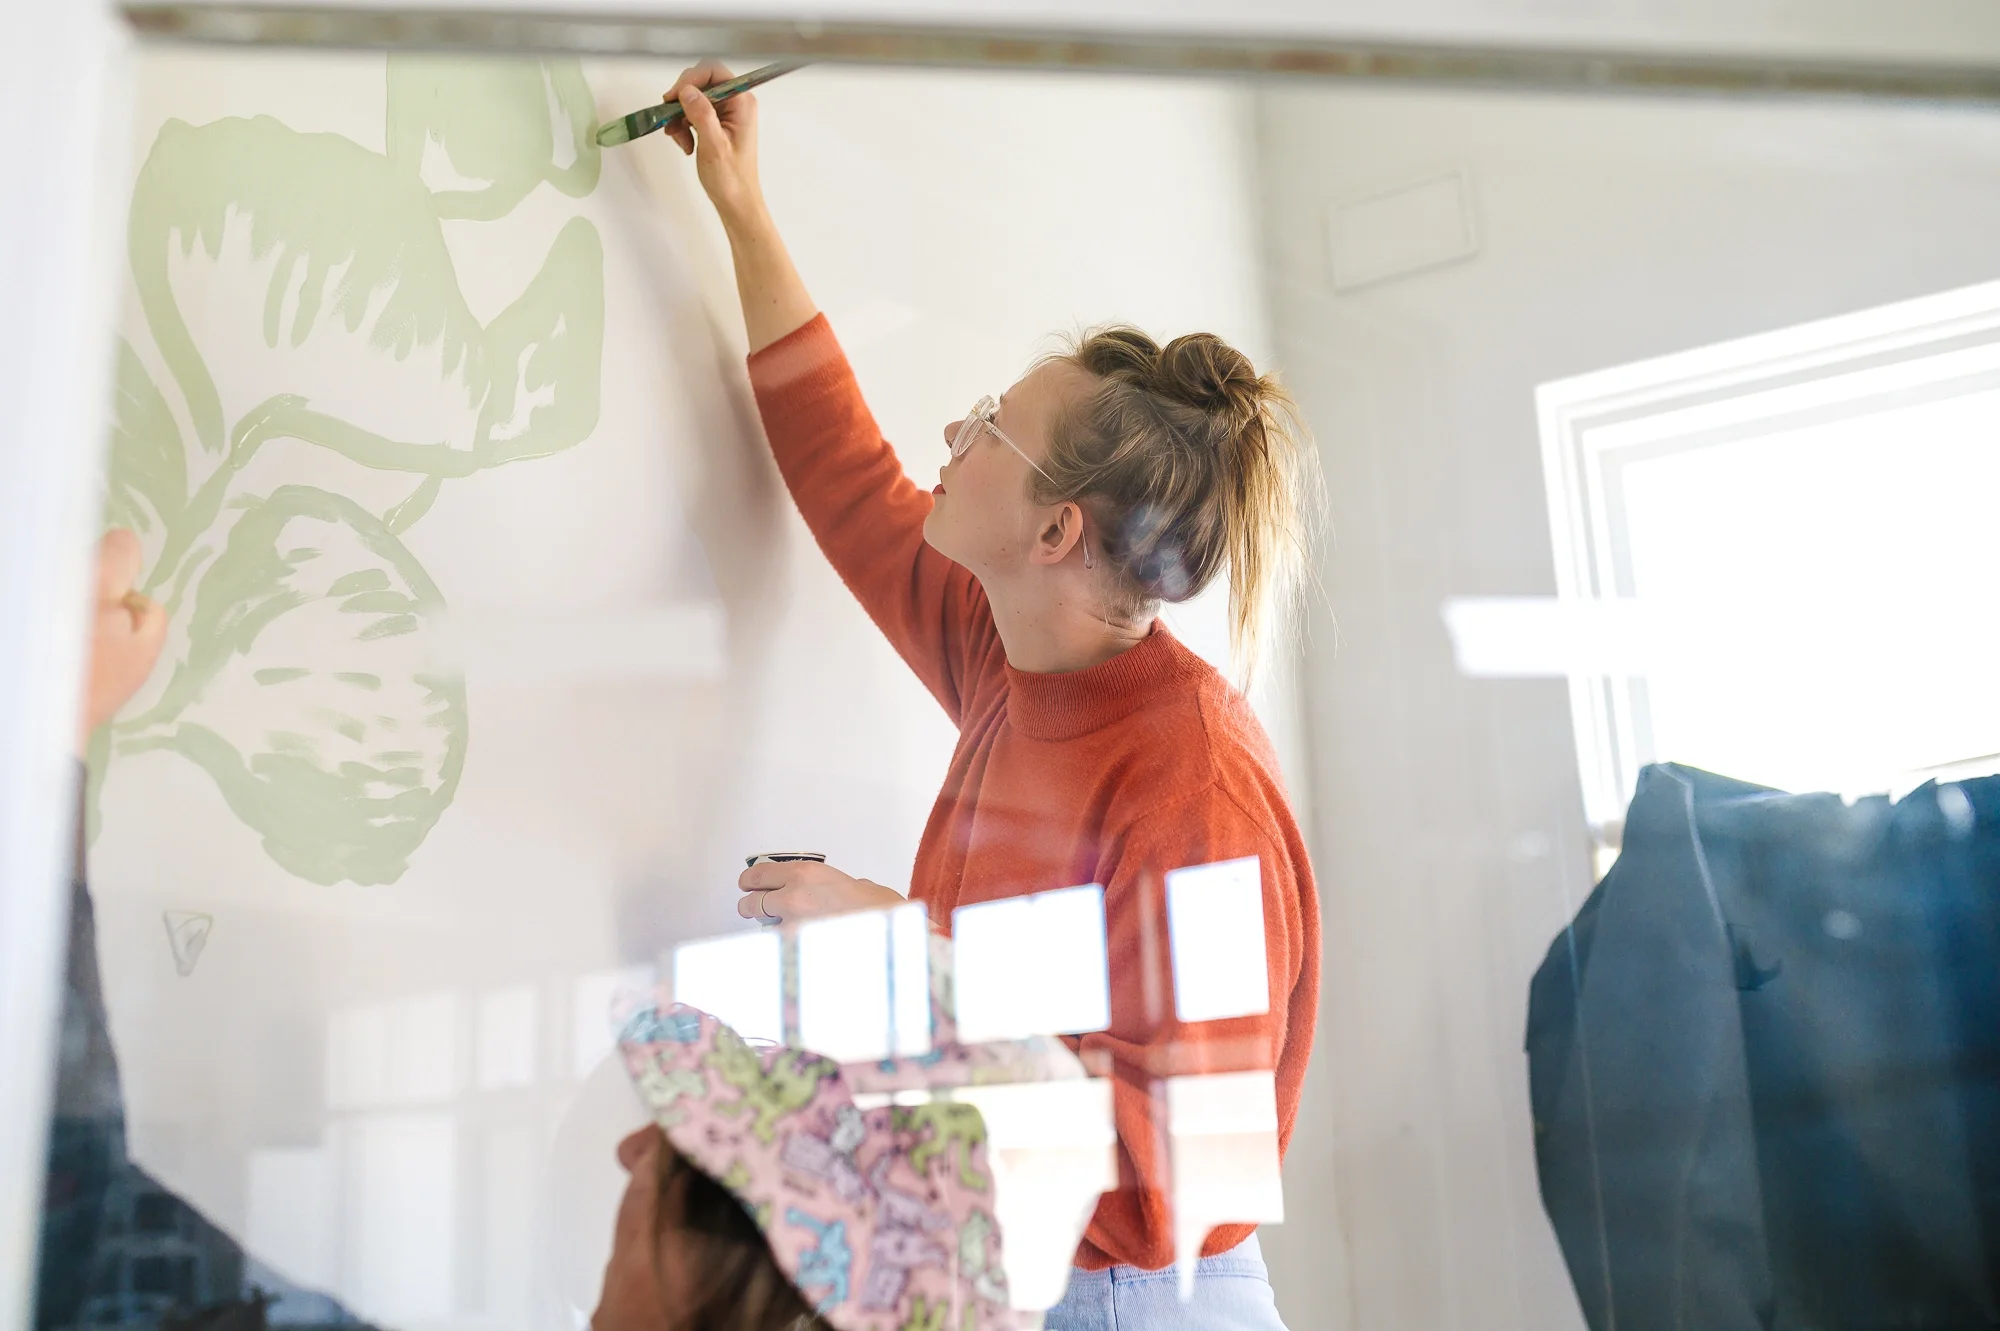
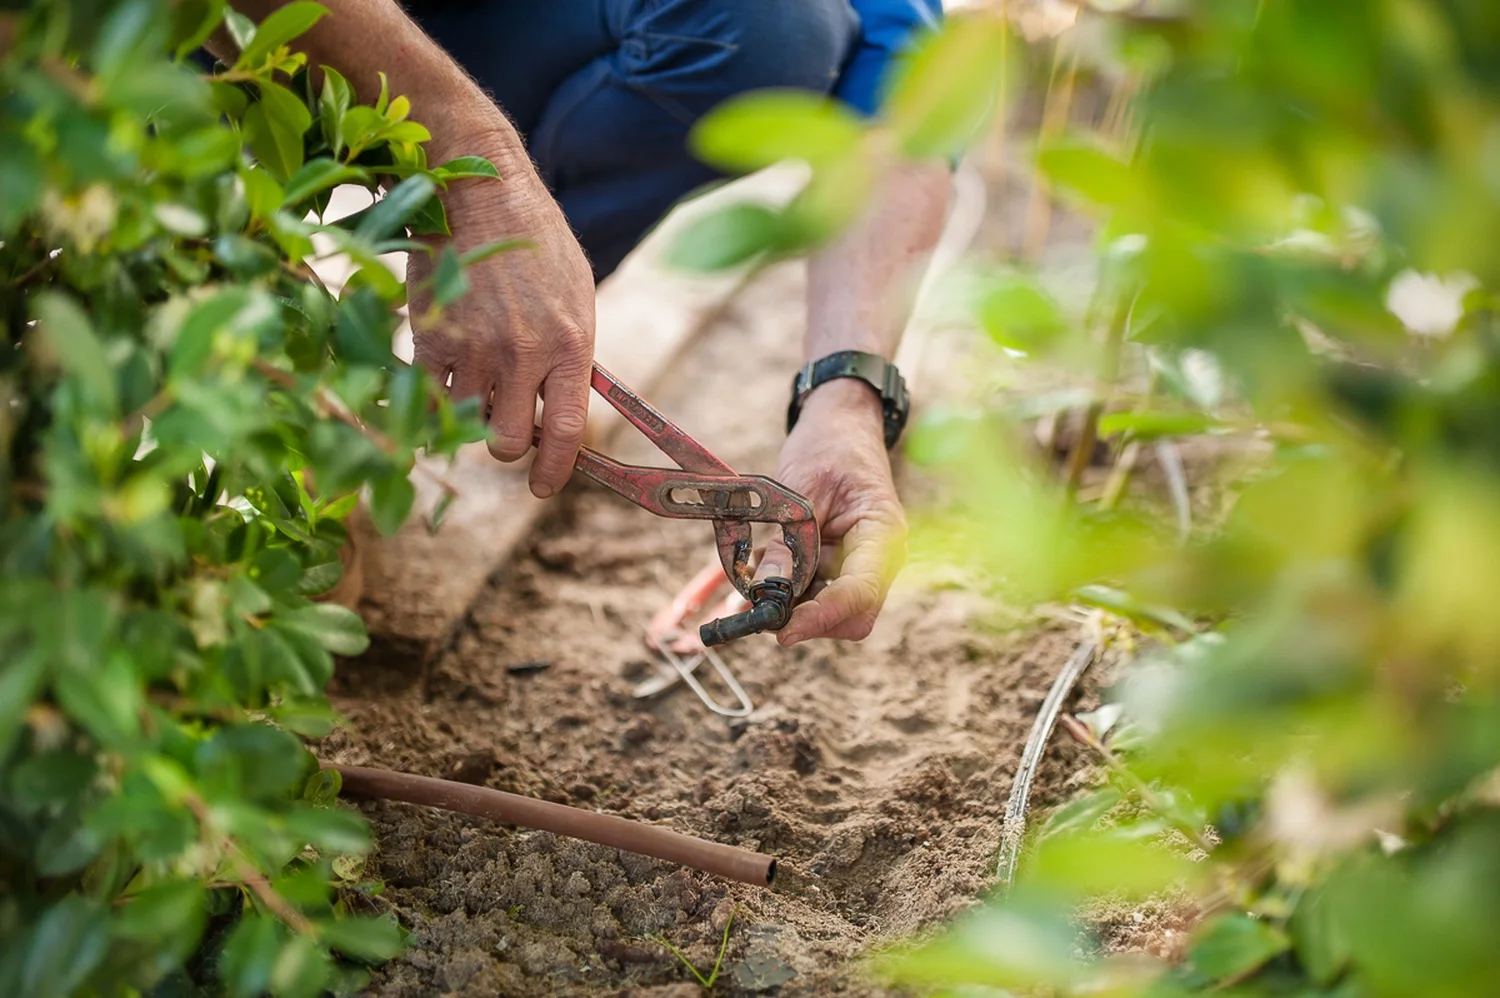
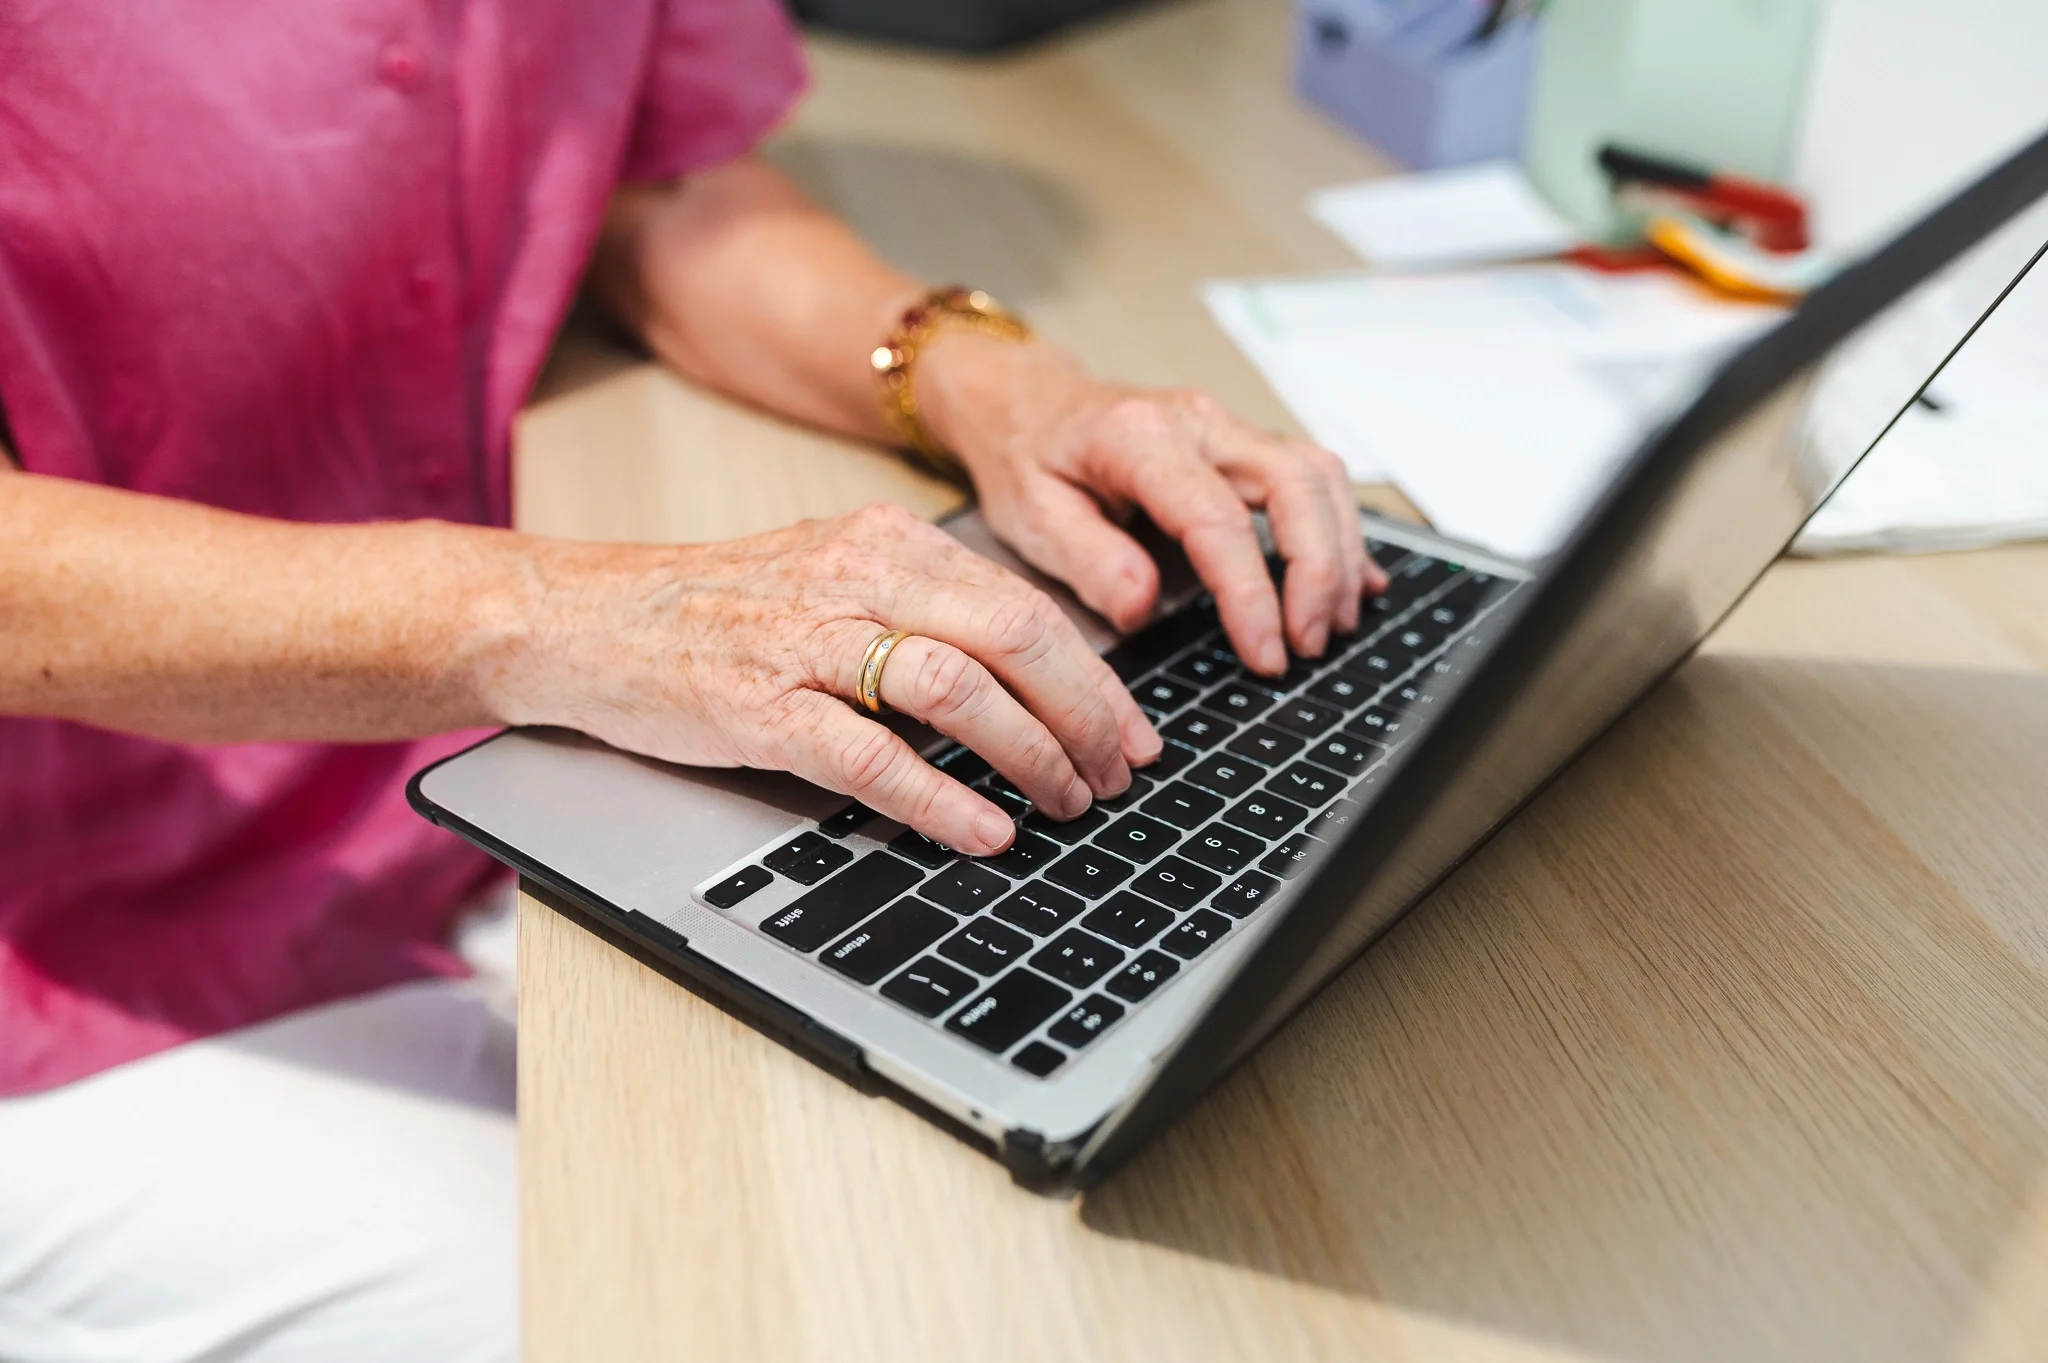
These are more general, versatile images that can be used throughout your website as needed. They might include close-ups of your products, workspace, tools, materials, people or other details that help tell the story of your business.
These images can be particularly useful for articles and blog posts, where you may need an image to introduce a topic, break up a page or add visual interest.
A few other key things to consider when planning your website photoshoot
Photo orientation: Do you want all landscape photos or a combination of landscape and portrait? Landscape will generally be better for web but portrait may be more suitable for other marketing uses. It worth considering that you will likely also be re-using your web photo library across other media, such as print brochures and social media.
Brand colour: Incorporating your brand colours in your photos can be very powerful. This can be done through props, clothing and other details.
Photo colour grading, which is the way your photos are processed after they are taken, can help reinforce your brand colours too. For example, you might add a warm, sun-kissed glow to your photos if you are a luxury travel brand. Alternatively, you might tweak your photo tones to highlight a bright purple brand colour.
That said, it’s important to be careful. Some colour grades can have a negative effect on skin tones. Great skin tone is king. Everything else should come second!
Timing: Make sure to schedule your photoshoot when the majority of staff will be available, while causing as little disruption to your business as possible. This might be first thing in the morning, before clients arrive, or during a planned business event where you have the opportunity to capture other useful photos.
Planning: A solid plan means a great photoshoot. This can be anything from broad strokes to a more detailed by the minute run down. I personally favour a clear plan with between 15-30min intervals which include a variety of ideas, location and people involved. This allows the flexibility to spend a little more time if something is really working or pivot to the next thing if you hit a roadblock. You can download a simple photoshoot planner here so you can get the most out of your session.